Streaming Dialogflow on your Desktop/Device/Raspberry Pi

Turn your local computer into a listening, talking Voice User Interface powered by Dialogflow.
If you’ve worked with Dialogflow (DF) before, you know it’s a quick way to build smart conversational interfaces. A Dialogflow Agent can be the brains behind a Facebook Messenger or Slack chatbot, a Google Assistant or Alexa app, or even an automated customer service agent.
Out of the box, Dialogflow comes with a handful of supported integrations that make deploying a DF app on Slack/Facebook/Alexa/etc a snap.
But sometimes, rather than integrate your agent into an existing platform, you want to run it on your own device. Maybe you’re building a self-help kiosk and want to talk to Dialogflow directly from your localMac/PC/Raspberry Pi.
In this post, I’ll show you how to do just that, by connecting to a Dialogflow Agent in Node.js, streaming audio in from your computer’s microphone, and streaming your DialogFlow agent’s responses out through your speaker. (If you don’t use Node, check out a Python code sample here.) All you’ll need to get started is an existing DF agent. Meanwhile, if you want to skip directly to the code, you can find it here.
Let’s get started 👉
Configuring Dialogflow to Speak
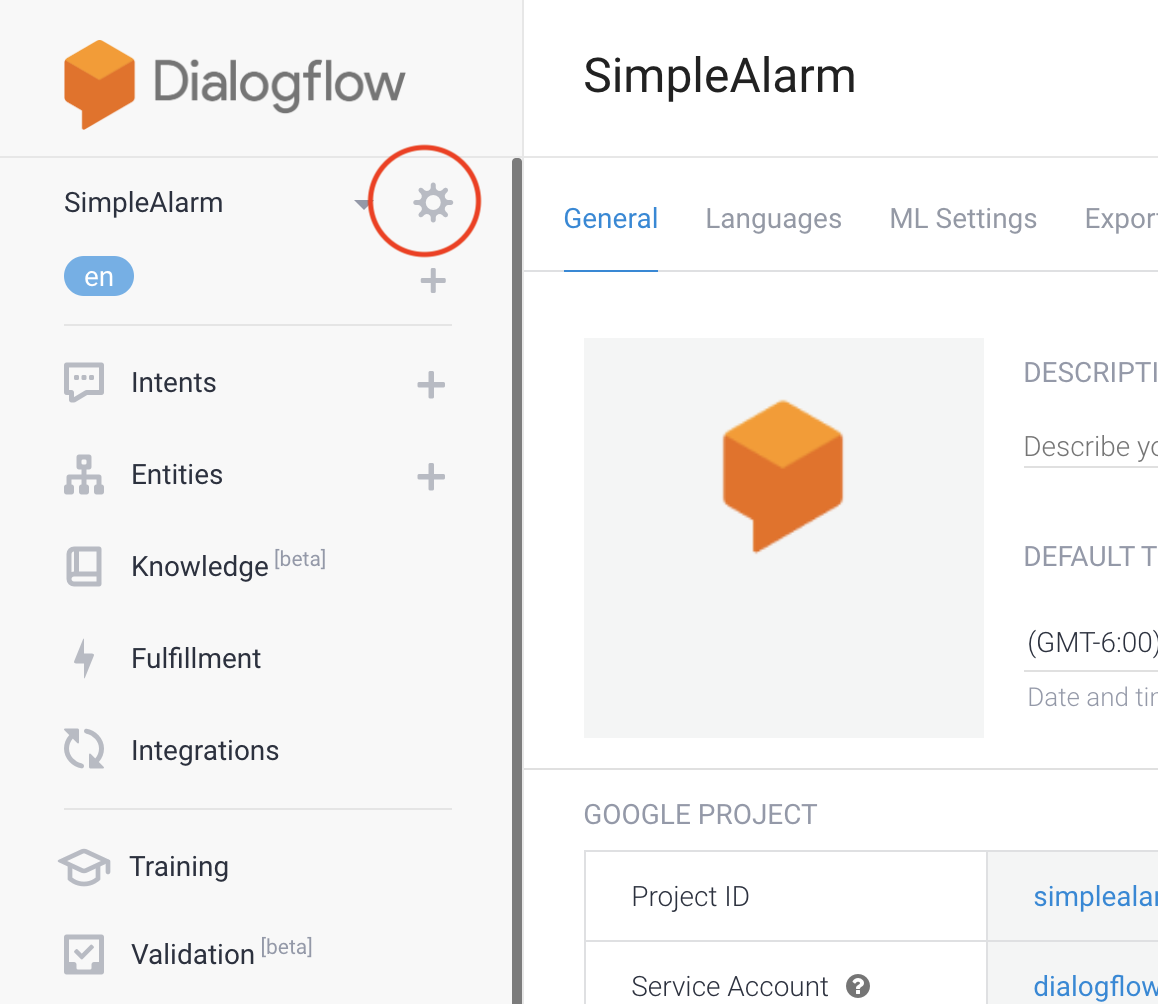
First, log in to the Dialogflow console and navigate to the project you’d like to stream with. In my case, I’m working with a project called SimpleAlarm.
Click the gear icon in the upper left corner of the screen.
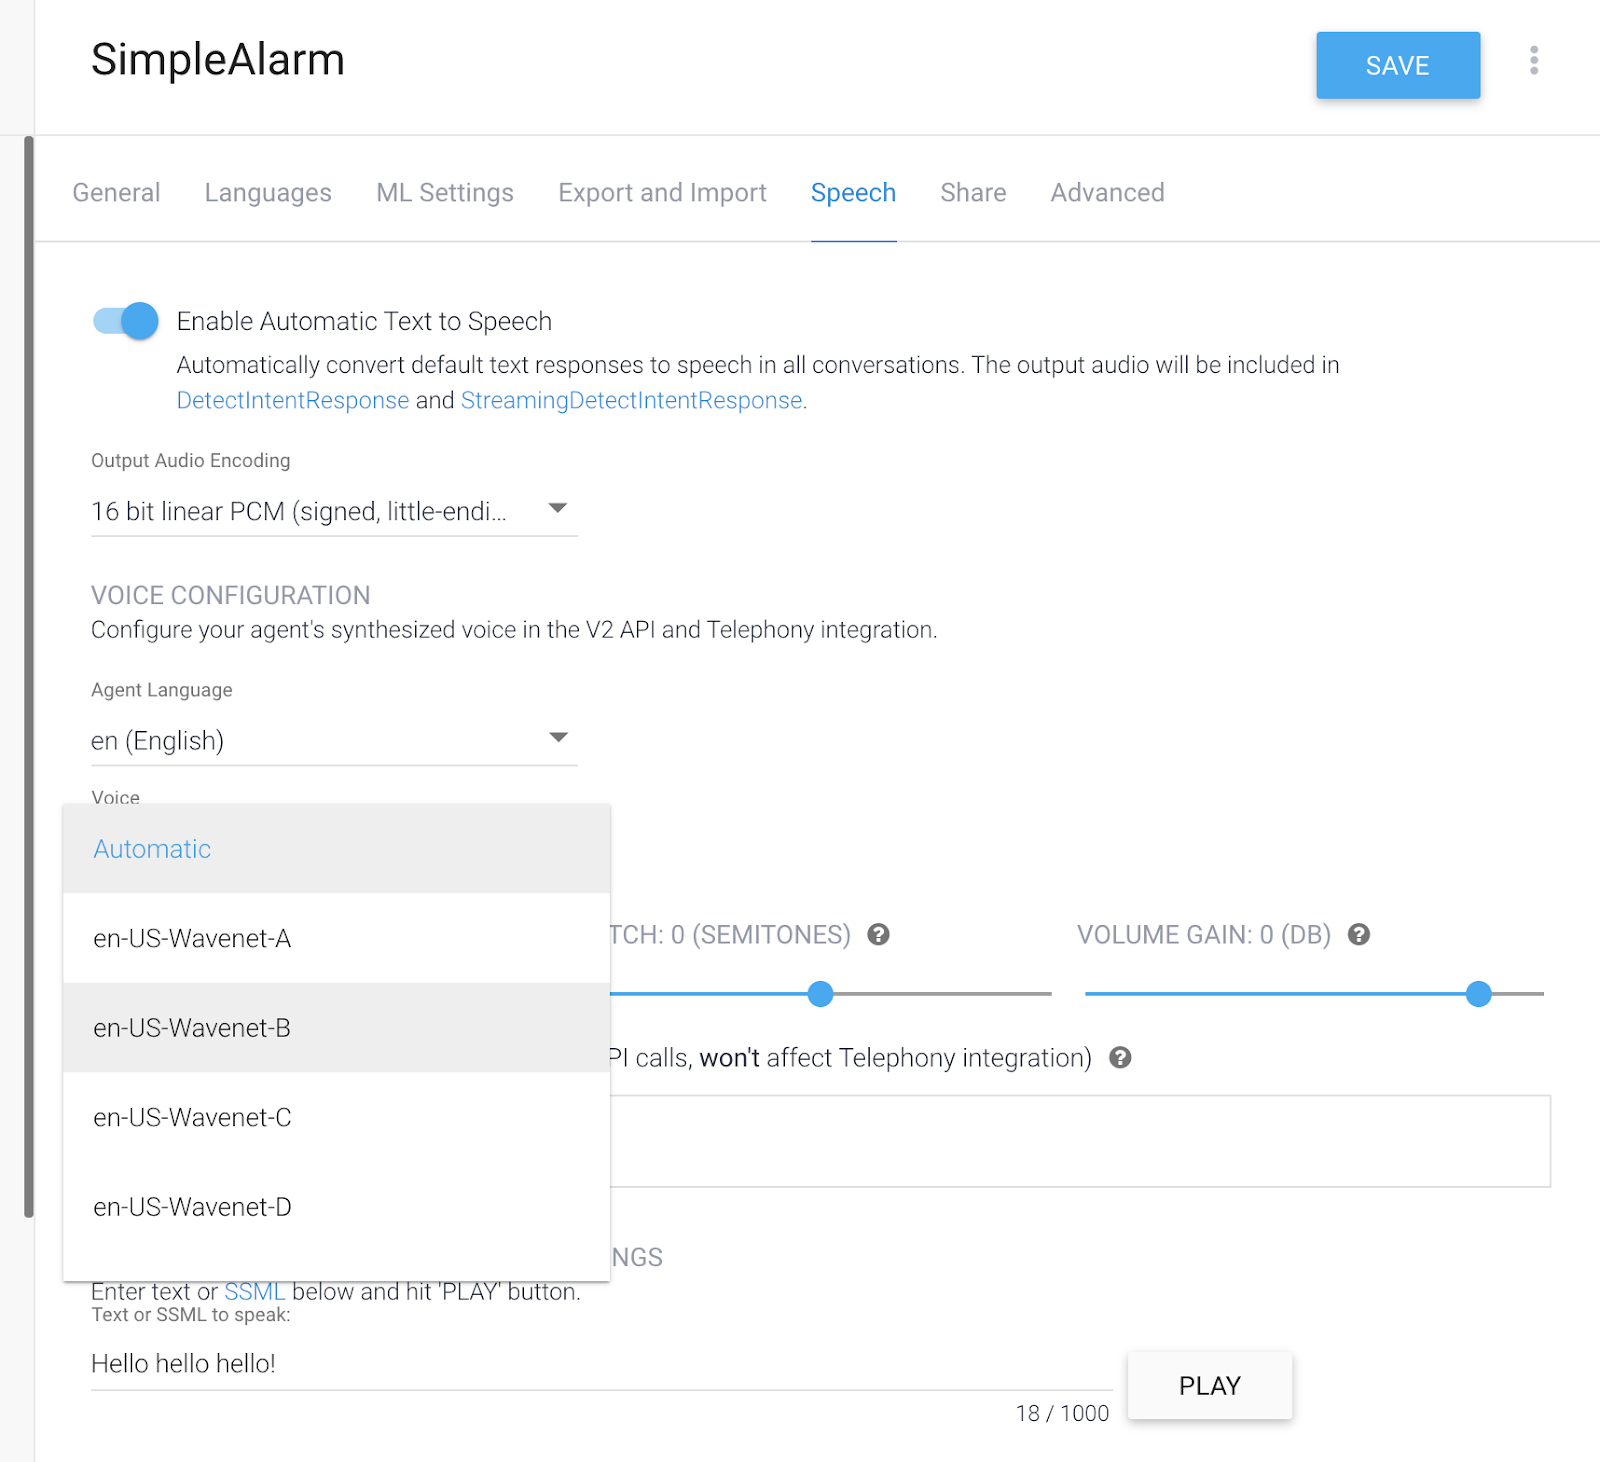
 voices, which sound more human-like than the standard voices.](/images/2020-02-06-streaming-dialogflow-on-your-desktop-device-raspberry-pi/4)
Authentication
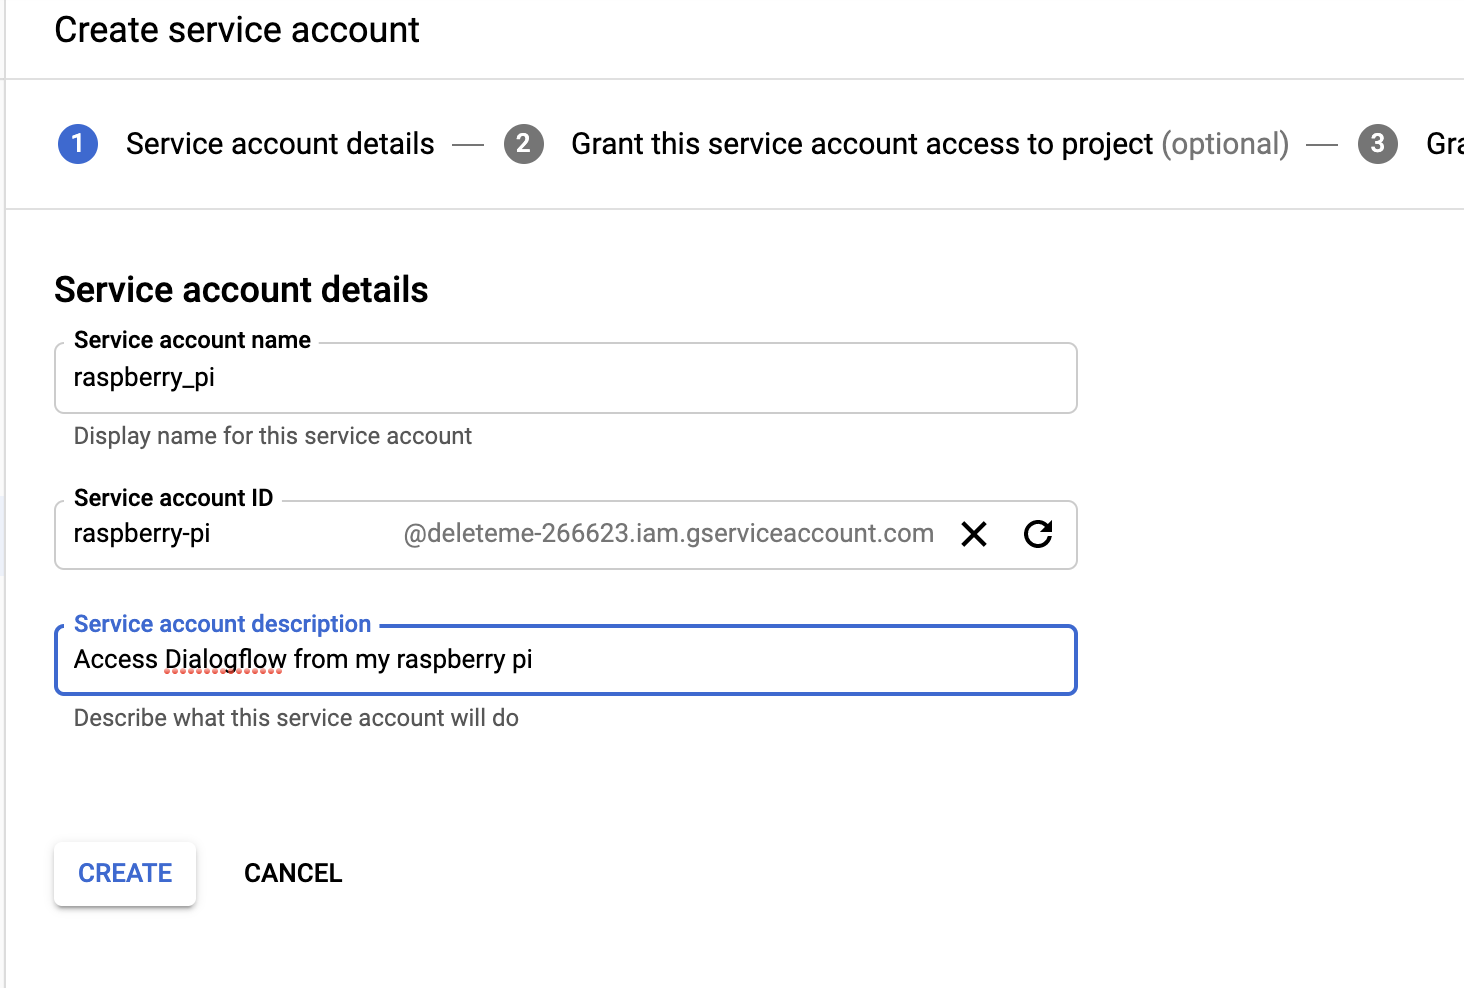
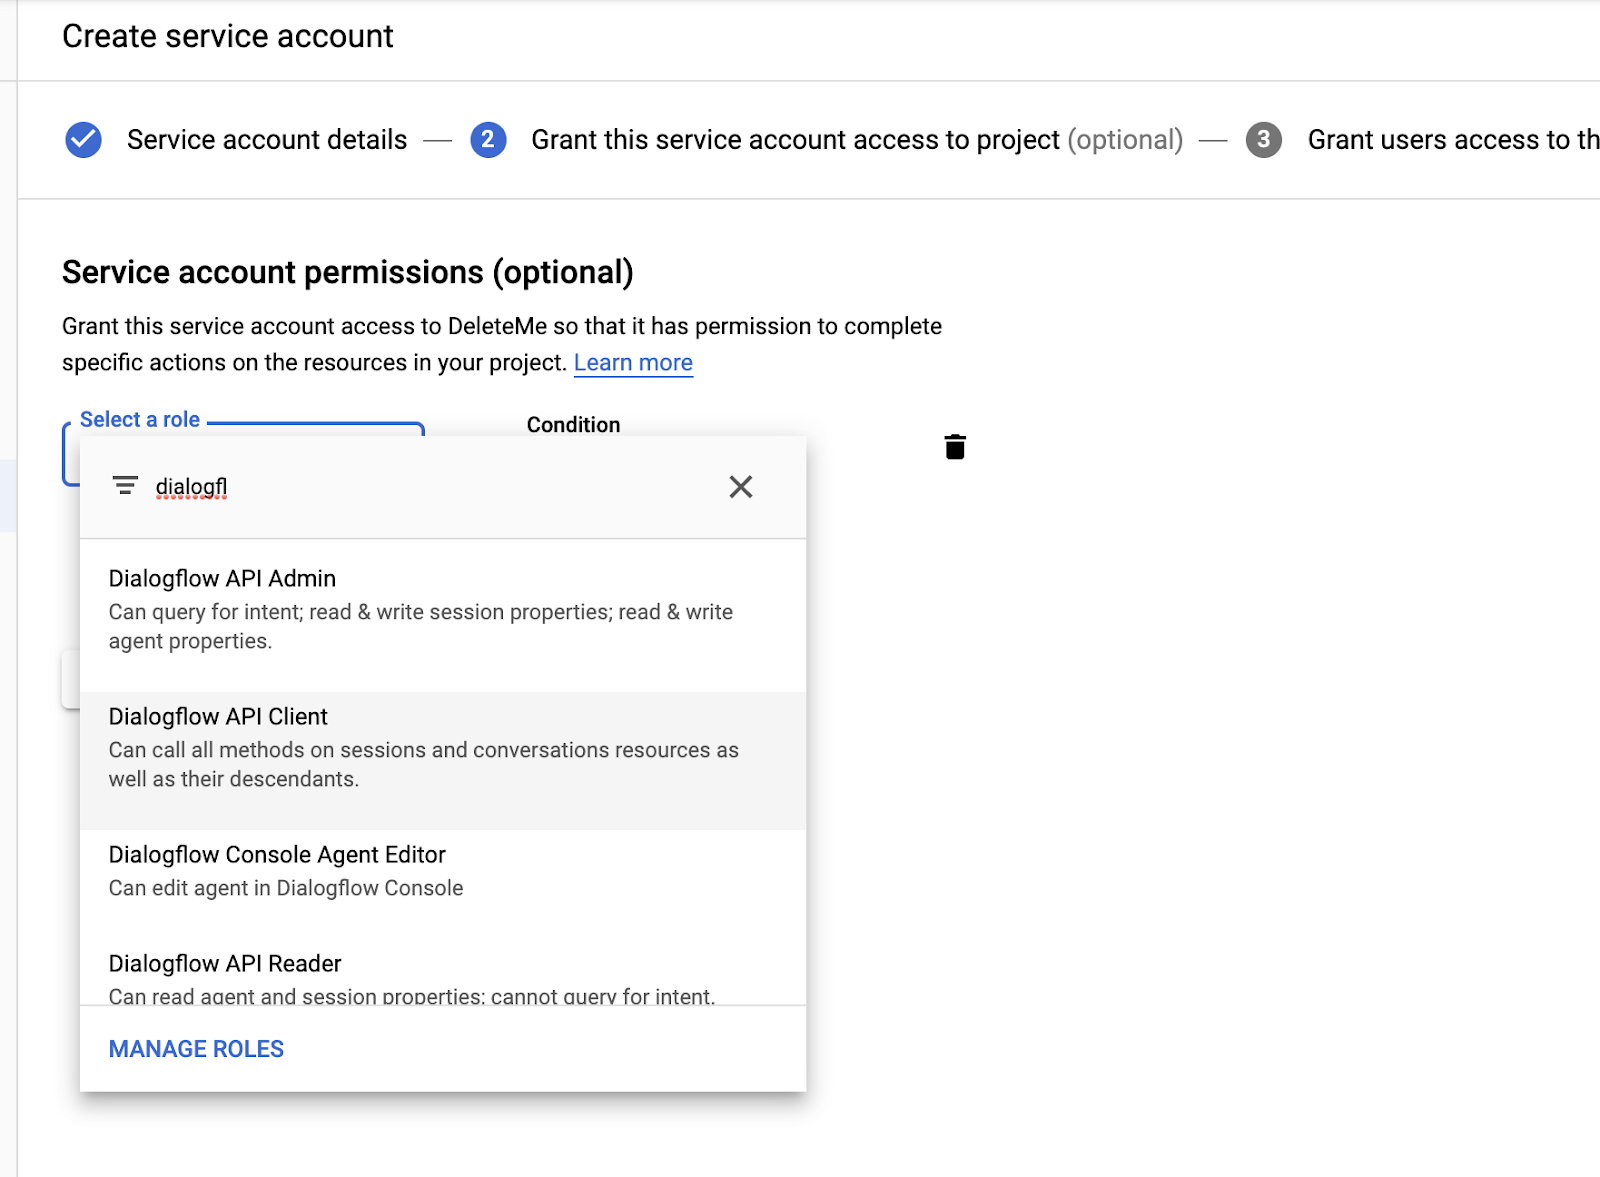
Since we want to interact with our Dialogflow Agent in Node.js from our local computer, we’ll need to set up authentication. Across Google Cloud, authentication is handled through service accounts, which we’ll set up now.
First, navigate to the GCP console (now’s a good time to mention you’ll need to have a Google Cloud account and login). Navigate to the GCP project whose project id corresponds to the project id of your Dialogflow Agent (remember we took note of that in the last step?).
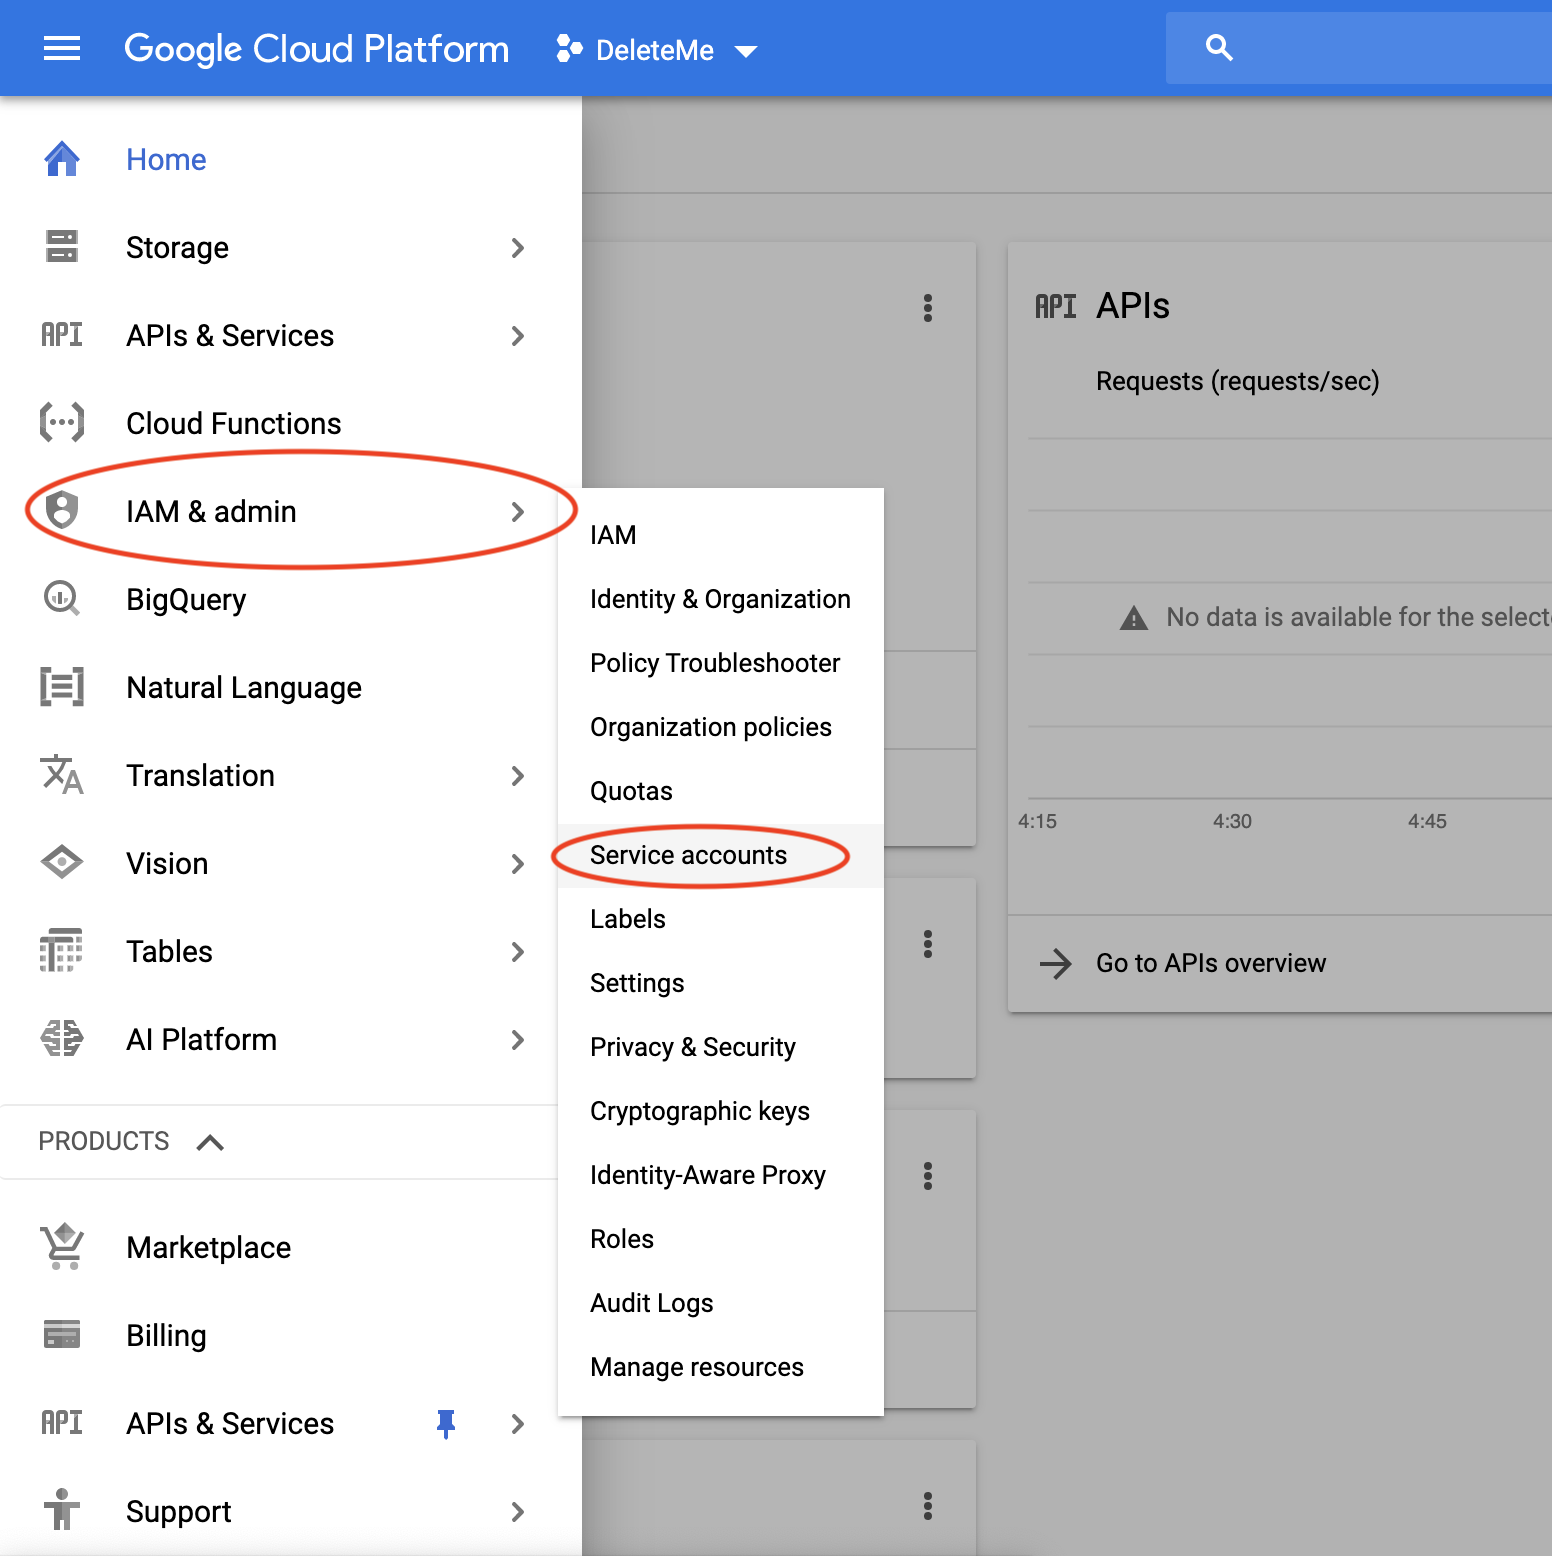
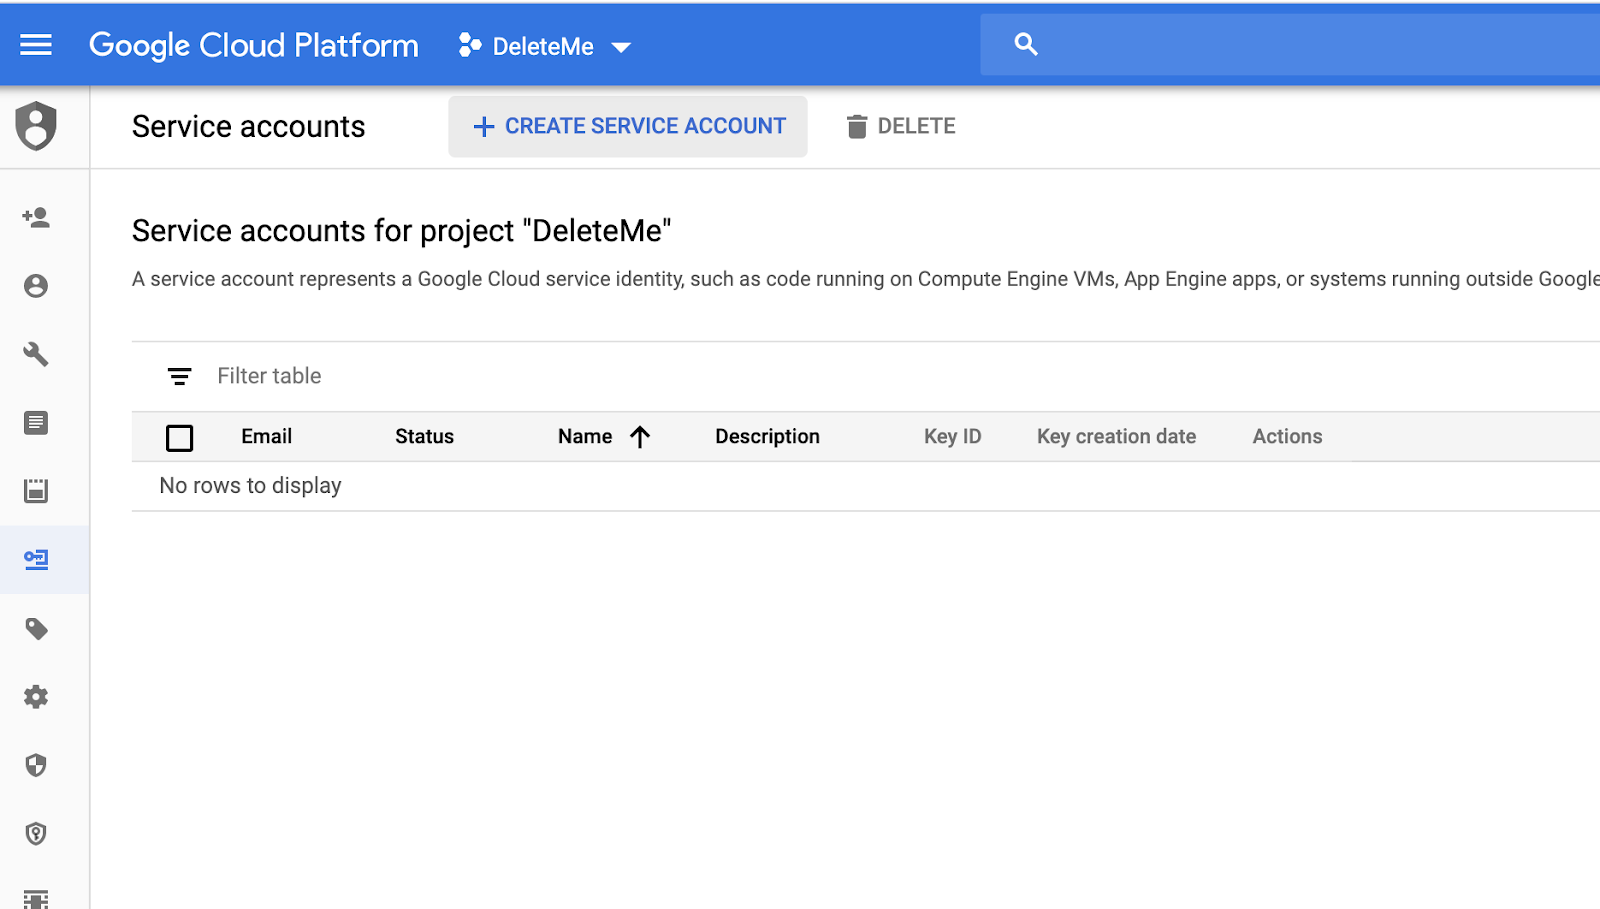
In the left hand bar, go to IAM & admin -> Service accounts.
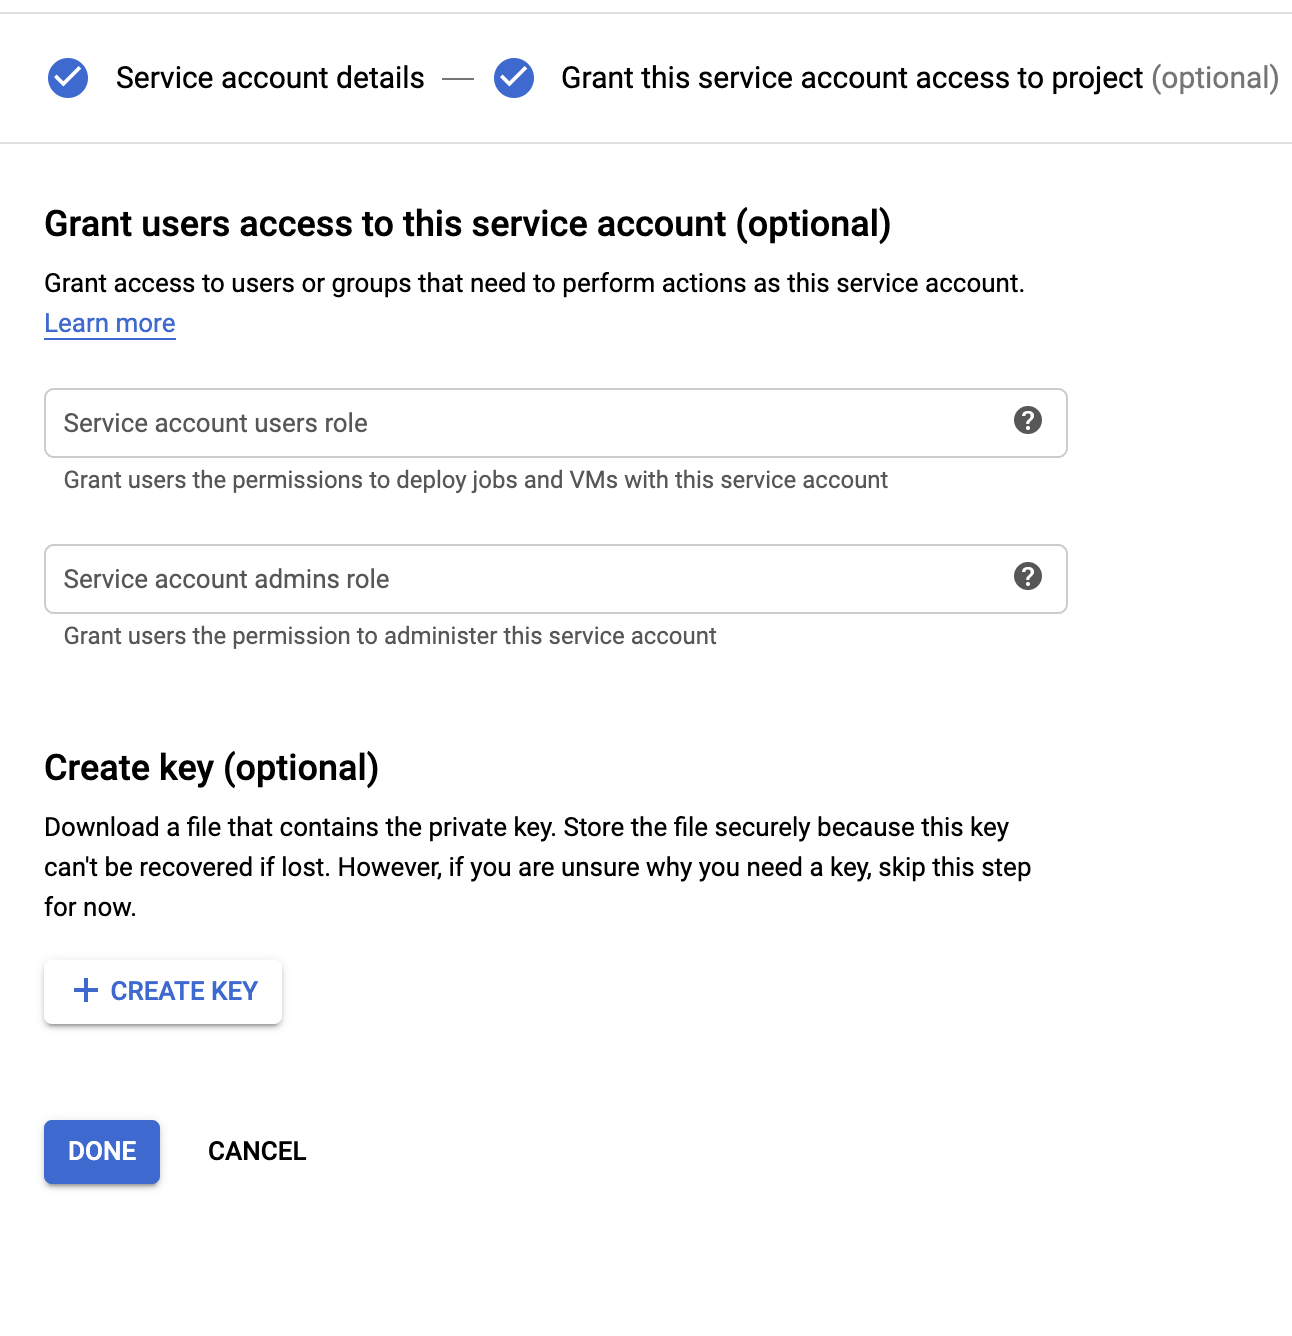
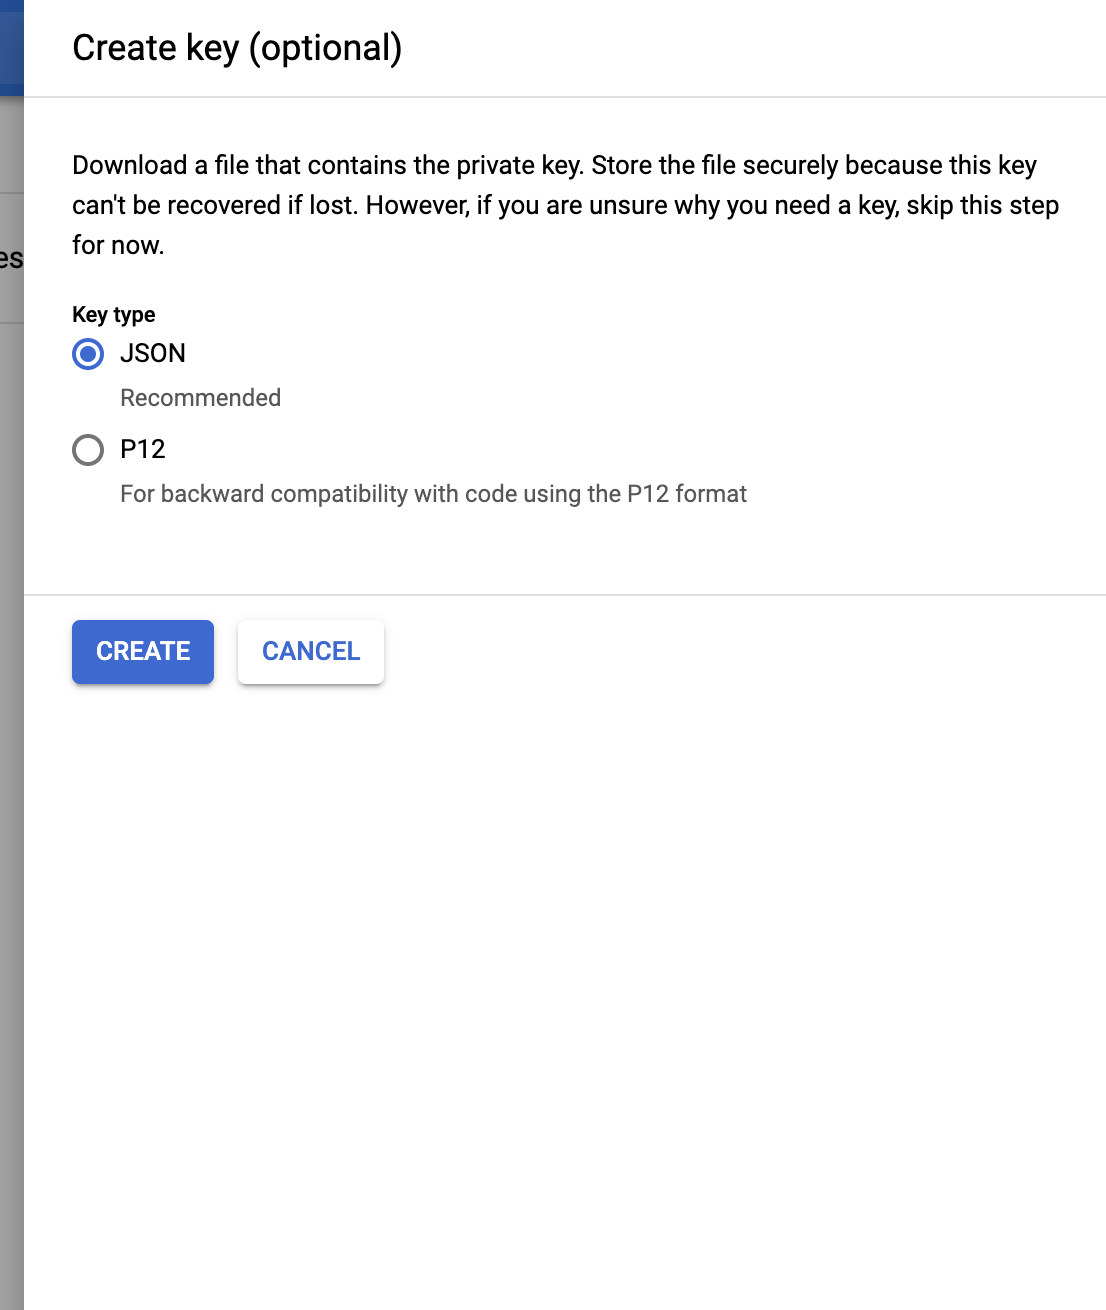
Meanwhile, create a new folder for this project (i.e. dialogflow_streaming_agent) and move the credentials json file to that folder.
Writing Node.js Dialogflow Streaming Code
Dependencies
To get started, you’ll need to download some dependencies. For this project, I used the package node-record-lpcm16 to record audio from my microphone and the package node-speaker to play audio responses from Dialogflow through my speaker. You can use other speaker and microphone libraries, but I found these consistently worked on both my MacBook and on the Pi.
To install node-record-lpcm16, you may need to install some dependencies, like sox, first. See the docs here, but on a Mac, you’ll probably want to do something like:
brew install sox
npm install node-record-lpcm16
On Linux:
sudo apt-get install sox libsox-fmt-all
npm install node-record-lpcm16
To install node-speaker:
npm install speaker
Or on Linux:
sudo apt-get install libasound2-dev
npm install speaker
On my Mac, I noticed I kept getting the error Illegal Instruction: 4 when using this library. The solution was to install speaker with this flag:
npm install speaker --mpg123-backend=openal
Finally:
npm install pump dotenv dialogflow-v2
Understanding the Dialogflow Streaming Interface
Dialogflow Streaming Configuration
If you poke around the Dialogflow documentation, you’ll see there is a sample code page called Detect Intent with Audio Stream Input. This snippet shows you how to stream audio to and from files. But in this post, rather than stream from files, we want to collect audio directly from the microphone and play it directly out of the speaker. I’ll walk you through how to do this step by step, but the completed code sample is here.
To get started with the Dialogflow streaming interface, import the library and create a new client:
const dialogflow = require('dialogflow');const sessionClient = new dialogflow.SessionsClient();
In this streaming setup, we’ll collect audio from the microphone and continually send it to the sessionClient. But before we send audio, the first data packet we’ll need to send to Dialogflow is a configuration object. I’ve packaged this step up in a function I’ve called makeInitialStreamRequestArgs:
function makeInitialStreamRequestArgs(projectId, sessionId) {
    // Initial request for Dialogflow setup

    const sessionPath = sessionClient.sessionPath(projectId, sessionId);

    return {
        session: sessionPath,
        queryInput: {
            audioConfig: {
                audioEncoding: "LINEAR16",
                sampleRateHertz: 16000,
                languageCode: "en-US",
            },
            singleUtterance: true,
         },
         outputAudioConfig: {
             audioEncoding: "OUTPUT_AUDIO_ENCODING_LINEAR_16",
             sampleRateHertz: 16000,
         },
    };
}
Let’s talk about these configuration parameters.
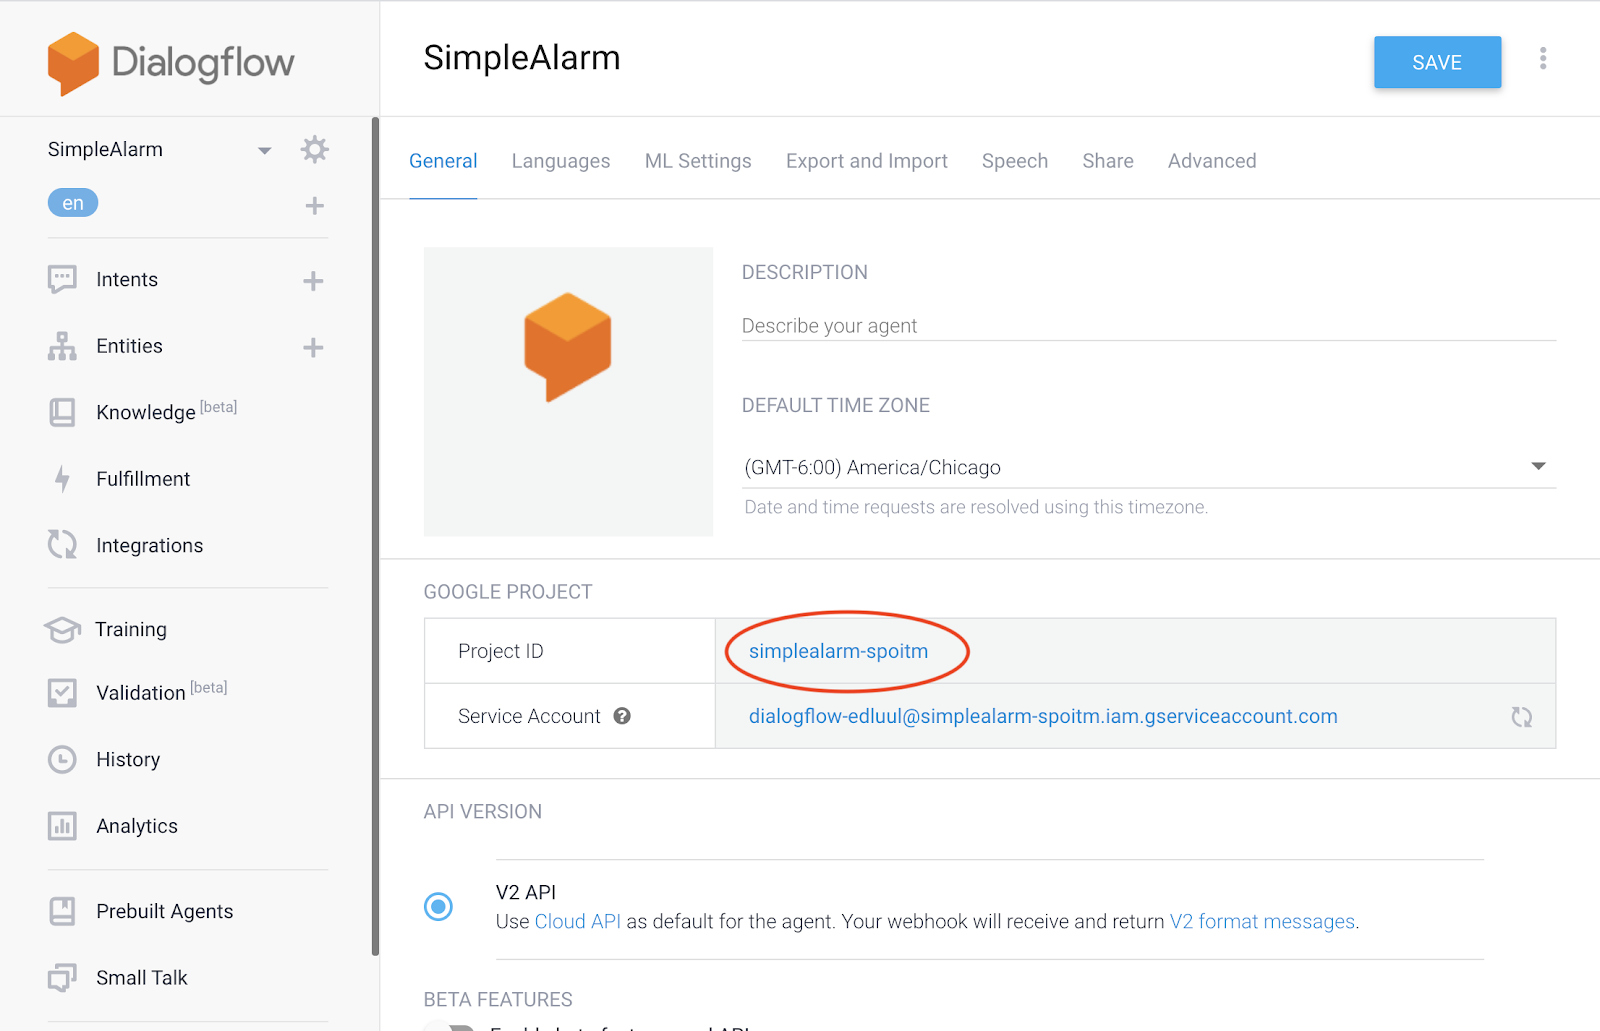
First, makeInitialStreamRequestArgs takes two parameters, projectId and sessionId. projectId is your GCP project ID, which we collected from the Dialogflow console up above (in my case, it was simplealarm-spoitm). sessionId, on the other hand, is an id that you, the caller, create for each user session. You’ll send this sessionId along with every call you make to Dialogflow to indicate you’re continuing an ongoing conversation.
These two parameters, projectId and sessionId, are used together to create a sessionPath variable which is sent along with the initial configuration.
You’ll notice in the code above a json field called queryInput, which tells Dialogflow what type of input audio data to expect. We setaudioEncoding: "LINEAR16" to indicate we’re sending audio from our microphone in "16-bit linear pulse-code modulation (PCM) encoding". This field can also be "MP3", "FLAC", or a handful of other encoding types listed here. For raw data from a microphone, you’ll usually want to use "LINEAR16". sampleRateHertz: 16000 indicates we’ll send Dialogflow audio that’s sampled at 1600 Hertz. You can determine the sampling rate of your microphone on Linux using the command:
arecord --list-devices
However, I found that using an alternate sampling rate here doesn’t break anything 🤞.
In queryInput, we’ll set the field singleUtterance: true. From the docs:
- If
false(default), speech recognition does not cease until the client closes the stream. - If
true, Dialogflow will detect a single spoken utterance in input audio. When Dialogflow detects the audio's voice has stopped or paused, it ceases speech recognition and sends aStreamingDetectIntentResponsewith a recognition result ofEND_OF_SINGLE_UTTERANCEto your client. Any audio sent to Dialogflow on the stream after receipt ofEND_OF_SINGLE_UTTERANCEis ignored by Dialogflow.
Setting this field to true conveniently means that Dialogflow will automatically detect when the user has stopped speaking, allowing it to handle the logic of when to stop listening and start speaking its response.
Finally, outputAudioConfig tells Dialogflow what type of audio we’d like to receive, which we will then play through the speaker.
Connecting Dialogflow to the Microphone
To begin collecting audio and detecting intents, let’s create a new function, getAudio(sessionId), which will handle creating a Dialogflow Stream, creating a microphone Stream, setting up configuration, and detecting intents. getAudio will return a Javascript Promise which resolves when it’s a received an audio response from the Dialogflow (more details on that below).
First, create a new Dialogflow intent detection stream, like so:
function getAudio(sessionId, projectId) {
  const detectStream = this.sessionClient.streamingDetectIntent()
    .on('error', console.error);
}
Next, we’ll send the Dialogflow configuration packet using the function we wrote in the last step:
detectStream.write(makeInitialStreamRequestArgs(projectId, sessionId));
Now we’ll begin collecting audio from the microphone and streaming it to the detectStream object.
To create a microphone stream, we’ll create a new record object using the library node-record-lpcm16 we installed before:
const recording = record.record({
    sampleRateHertz: 16000,
    threshold: 0,
    verbose: false,
    recordProgram: 'arecord', // Try also "arecord" or "sox"
    silence: '10.0',
});
const recordingStream = recording.stream().on('error', console.error);
You should set recordProgram to whatever audio recording software is installed on your computer. On my MacBook, I use sox, and on Linux/Raspberry Pi, arecord.
To connect the recording stream (recordingStream) to the Dialogflow stream (detectStream), I used a small Javascript library called pump. This lets us do a small transform on the data coming out of the recordingStream so it’s in the format detectStream expects.
const pumpStream = pump(
    recordingStream,
    // Format the audio stream into the request format.
    new Transform({
        objectMode: true,
        transform: (obj, _, next) => {
            next(null, { inputAudio: obj });
        },
    }),
    detectStream,
);
Streaming Audio and Detecting Intents
Now that we’re streaming audio data to the cloud, Dialogflow can listen and — when it detects that the user is done speaking — try to match the user’s Intent and return a response.
Let’s take a look:
Streaming microphone data to Dialogflow and listening for Dialogflow’s responses
There’s a lot going on here, so let’s break it down.
detectStream.on('data' is a handler for listening to data events emitted by Dialogflow. Dialogflow emits data events to convey lost of different types of information:
{ responseId: '',
  recognitionResult: null,
  queryResult:
   { fulfillmentMessages: [],
     outputContexts: [],
     queryText: '',
     speechRecognitionConfidence: 0,
     action: '',
     parameters: null,
     allRequiredParamsPresent: false,
     fulfillmentText: '',
     webhookSource: '',
     webhookPayload: null,
     intent: null,
     intentDetectionConfidence: 0,
     diagnosticInfo: null,
     languageCode: 'en-US',
     sentimentAnalysisResult: null },
  webhookStatus: null,
  outputAudio: <Buffer >,
  outputAudioConfig: null }
For example, as the user speaks, Dialogflow will fire a data event with the parameter data.recognitionResult set, which contains a real-time transcript of what it thinks the user is saying. For example, if I say, into the microphone, "What’s the weather today?" Dialogflow might emit several data events with recognitionResult.transcript containing, respectively:
"What’s"
"What’s the"
"What’s the heather" # NOTE: heather changed later to "weather"
"What’s the weather today?"
Note that sometimes (as in the example above), the transcription may change as the user speaks more words and provides more context.
When the user stops speaking, Dialogflow will emit a packet with the field data.recognitionResult.isFinal set to true. At this point, you’ll need close the microphone:
if (data.recognitionResult.isFinal) {
   console.log("Result Is Final");
   recording.stop();
}
When the user stops speaking, Dialogflow will begin matching what the user said to an Intent. It will then emit a data event with the fielddata.queryResult filled. data.queryResult.fulfillmentText will contain a text version of Dialogflow’s reply (i.e. "The weather today is cloudy"). queryResult also contains other useful fields, like queryResult.intent.displayName (the name of the matched intent) and queryResult.parameters for matched parameters.
Finally, the last data event Dialogflow emits will contain an audio response, data.outputAudio. At this point, in the code above, we close the pump (pumpStream.end) and resolve the Promise, return the audio and the queryResult:
resolve({ audio: data.outputAudio, queryResult: queryResult });
By the way, if it’s unclear how this all fits together, check out the complete code sample (so far we’ve been talking about the getAudio function).
Congratulations! You’ve set up the hardest part of streaming with Dialogflow.
Playing Dialogflow’s Audio Responses through the Speaker
After the user speaks a request to our agent and we receive its audio response, we’ll need to play that response through our computer’s speaker using the node-speaker library. We’ll do that in a function called playAudio:
playAudio(audioBuffer) {
    return new Promise(resolve => {
        // Setup the speaker for playing audio
        const speaker = new Speaker({
            channels: 1,
            bitDepth: 16,
            sampleRate: 16000,
        });
        speaker.on("close", () => {
            resolve();
        });
        // Setup the audio stream, feed the audio buffer in
        const audioStream = new PassThrough();
        audioStream.pipe(speaker);
        audioStream.end(audioBuffer);
    })
}
Because playing audio through the speaker is an asynchronous operation, playAudio returns a Promise that resolves when audioBuffer is done playing. Here, in the configuration for Speaker, sampleRate should be the same sample rate as the value we passed in outputAudioConfig when we configured our Dialogflow stream (in this case, 16000).
Now you have a function that plays audio through the speaker!
Putting it All Together
Now that we’ve written code for getting and playing audio, let’s weave them together in a "listen-play-listen-play-listen…" loop. In other words, we’ll design a new function that listens to the user, waits for them to stop speaking, speaks a responds, and begins listening again, just like a real (polite) human being.
Write a new function, stream, like this:
async function stream() {
   console.log('Listening, press Ctrl+C to stop.');
   // Create a new id for this session
   const sessionId = uuidv1();

   while (true) {
       const res = await getAudio(sessionId, YOUR_PROJECT_ID);
       if (res["queryResult"]) {
           console.log("Got query result ", res["queryResult"]);
       }
       if (res["audio"]) {
           await stream.playAudio(res["audio"]);
       }
    }
}
This asynchronous function stream creates a new session by generating a random session id. Then it creates a loop that collects data from the microphone, listens for an audio response from Dialogflow, and plays it back through the speaker. It does this in a while(true) loop, i.e. forever.
Now, if you make a call to stream() at the end of your Javascript file, you’re good to go! Or you can of course just download and run my code. (Apologies that it doesn’t exactly line up with these inline samples, but they’re pretty close).
You’re Done!
Turn up the volume and start chatting. You’ve just built your first speaking, listening, digital companion that will never tire of listening to you. Tell your friends you’re welcome.