Building a Talking Trivia Alarm Clock, Part 1: Intro to Dialogflow
Learn how to get started with Dialogflow by building a simple alarm clock chatbot.
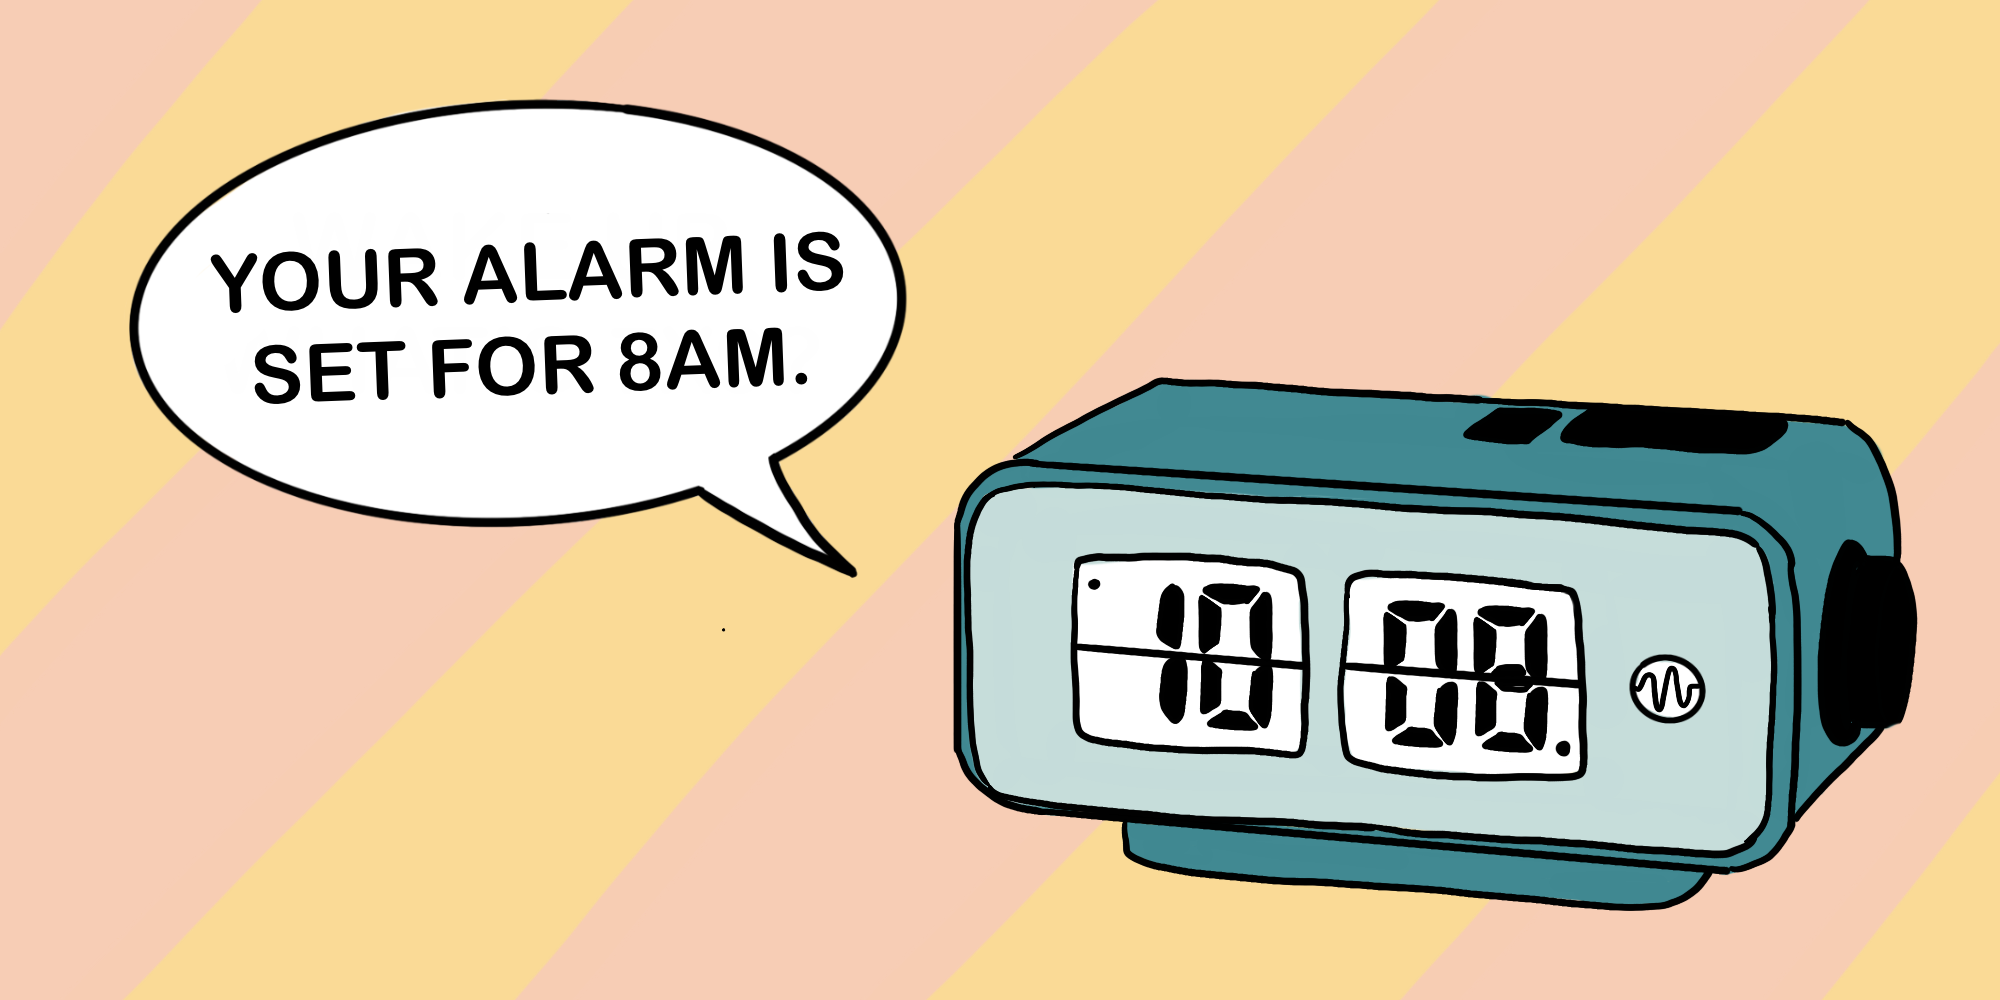
Pretty much every night, I ask my Google Home to set my wake up alarm for the next day. And sometimes, when she starts chirping the next morning, I wake up. But lots of times, I just slap her on the head and snooze into oblivion.
This got me thinking that maybe I needed to build my own DIY talking alarm clock, one that a. does not support “snooze” and b. that is much more persistent in waking me up. So I decided to build a trivia alarm clock, that doesn’t let me go back to bed until I’ve answered a bunch of trivia questions.
To build this totally not useless and infuriating device, I used Dialogflow — Google’s framework for building smart chatbots — and the AIY Voice Kit, a Raspberry-Pi powered kit for building voice devices.
In this post, I’ll teach how to build the first part of my trivia alarm clock — the alarm clock part — using Dialogflow. You can also use it as a Dialogflow getting started guide.
So BUZZ BUZZ BUZZ. IT’S TIME TO START BUILDING A DIALOGFLOW ALARM CLOCK.
Understanding Dialogflow
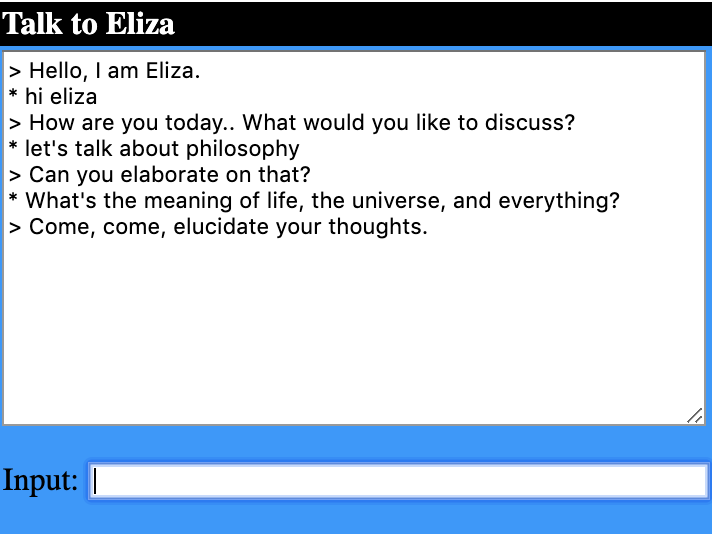
Dialogflow is Google’s machine-learning-powered framework for building chatbots. Now why, you might think, do you need a whole framework, let alone machine learning, to build a chatbot? ELIZA didn’t have one, and look how savvy she turned out:
Of course, if you’ve ever called a customer service hotline and felt dread as a bot answered instead of a human being, you know how frustrating poorly designed “conversational interfaces” can be.
Dialogflow (DF) was built with a particular type of conversation in mind. A user connects to a Dialogflow bot or “agent” because she’s trying to accomplish something specific: to book a flight or hotel room, to find a restaurant’s opening hours, to check the status of her dinner reservation. The user calls your customer service line or messages your Facebook bot to accomplish something specific, and figuring out what that thing is — so called “Intent Matching” — is one of Dialogflow’s core features. DF takes user text or speech as input, figures out what the user wants, and routes that requests to the appropriate reply OR block of code that’s needed to fulfill it.
Building an Alarm Clock Conversational Interface
On a Google Home, you can set an alarm by saying, “Hey Google, set an alarm for 8 AM.” You can also ask the Home things like “Hey Google, when’s my alarm?” and “Hey Google, snooze!”
Today we’re going to replicate that “conversational interface” in Dialogflow. We’ll add support for setting, listing, and deleting alarms.
Getting Started
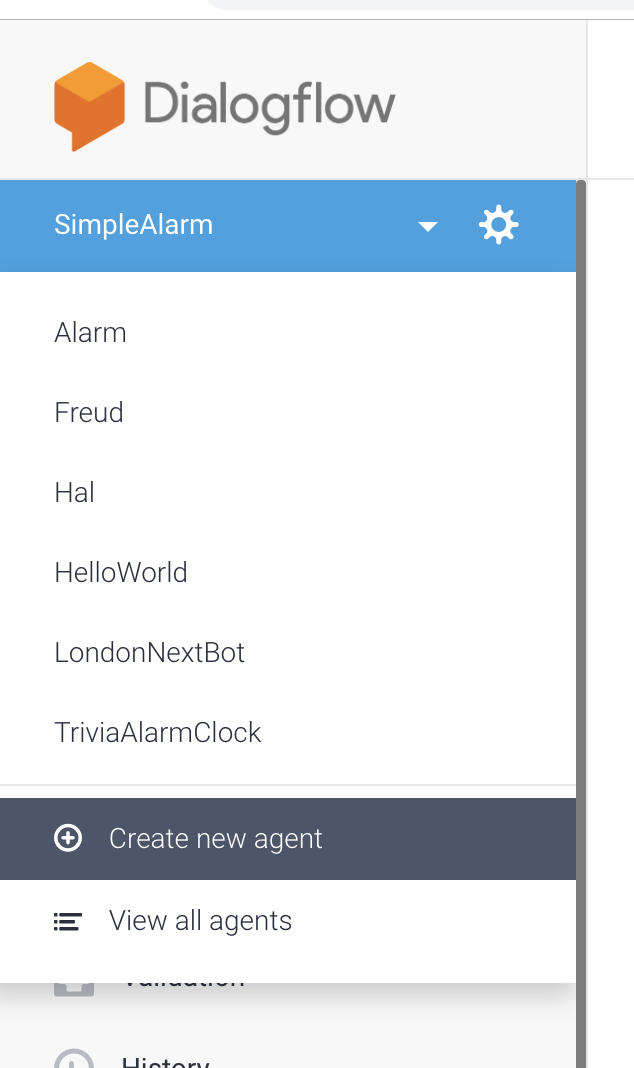
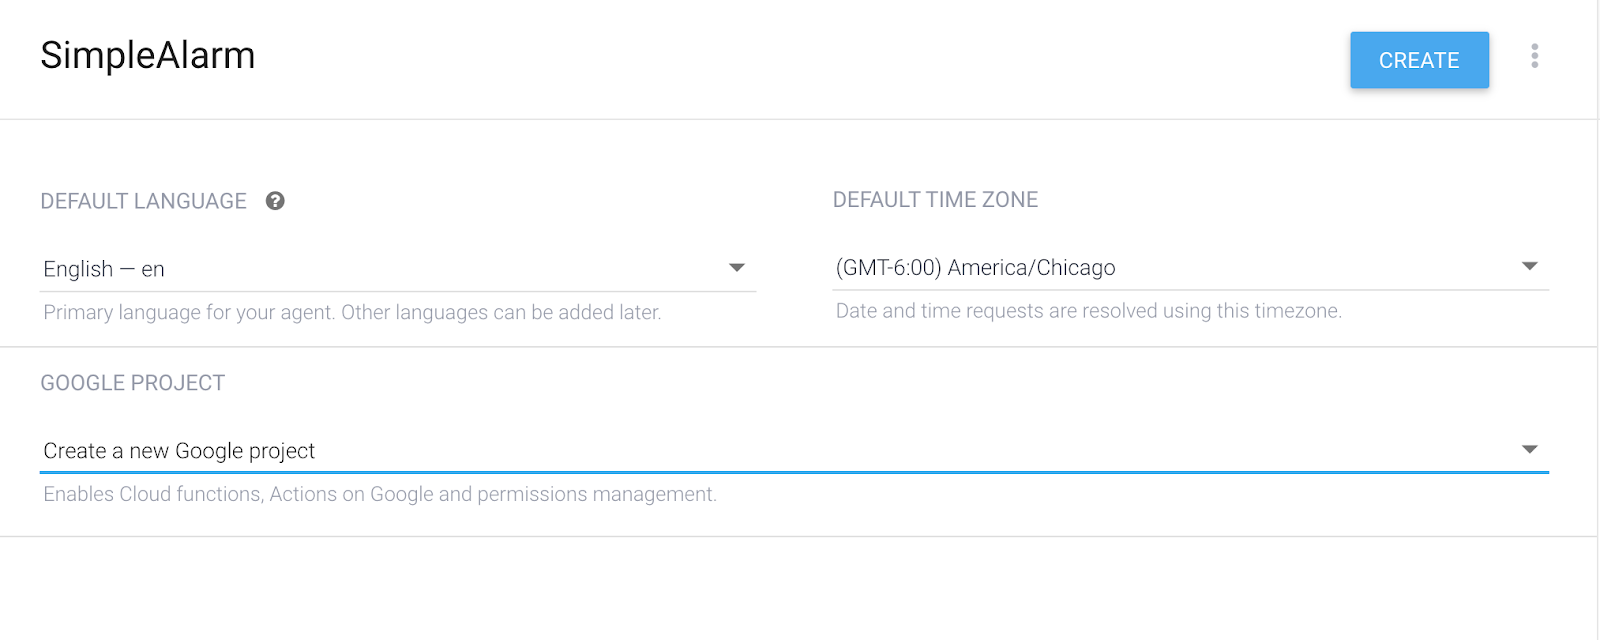
First, navigate to the Dialogflow homepage and create an account. Step one to any DF project is to create a new “agent,” which more or less corresponds to one chatbot. You can do this by clicking on the gear icon on the left hand side of the UI and selecting “Create new agent” from the dropdown.
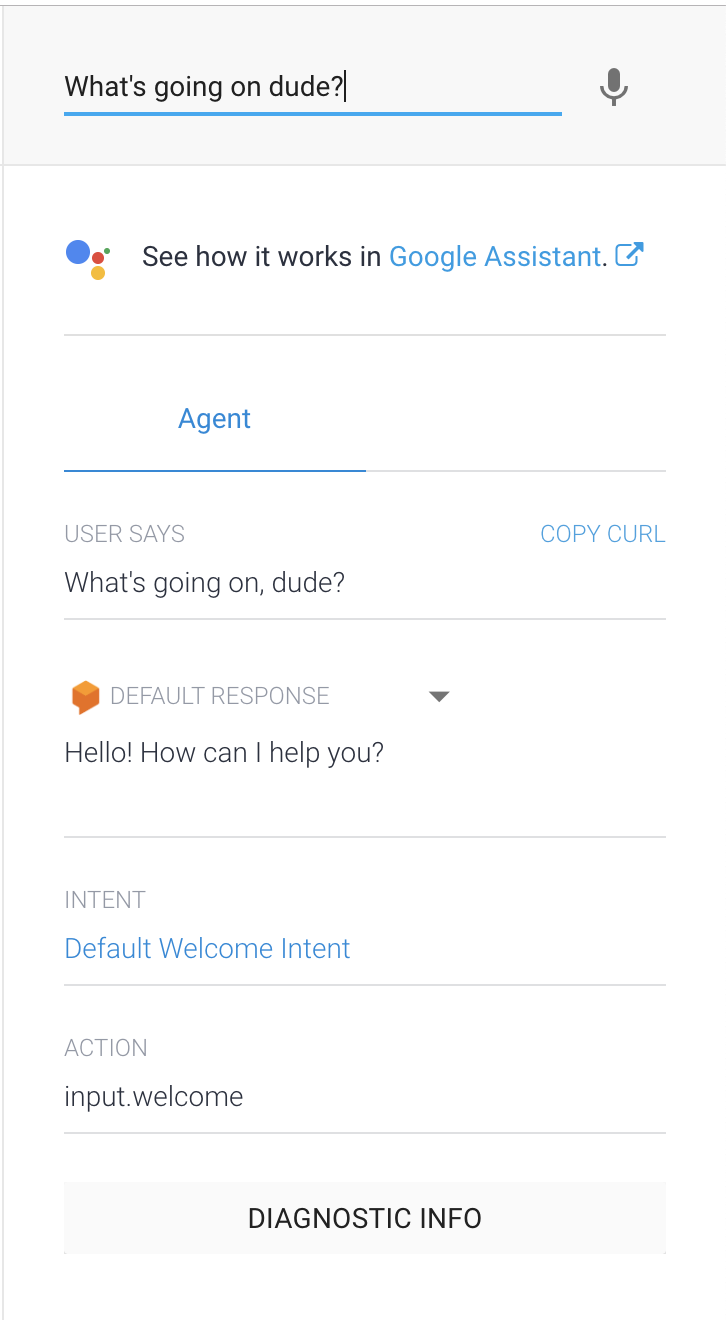
Once your agent is created, you’ll be able to start chatting with it in the side panel where it says “Try it now”:
Intents in Dialogflow
Now that our new agent is created, we can start building out its logic by writing Intents.
Logically, we want to support three different types of actions:
- Setting an alarm
- Listing that alarm
- Deleting alarm
(For simplicity, we’ll build this so that a user can only have one alarm set at a type.)
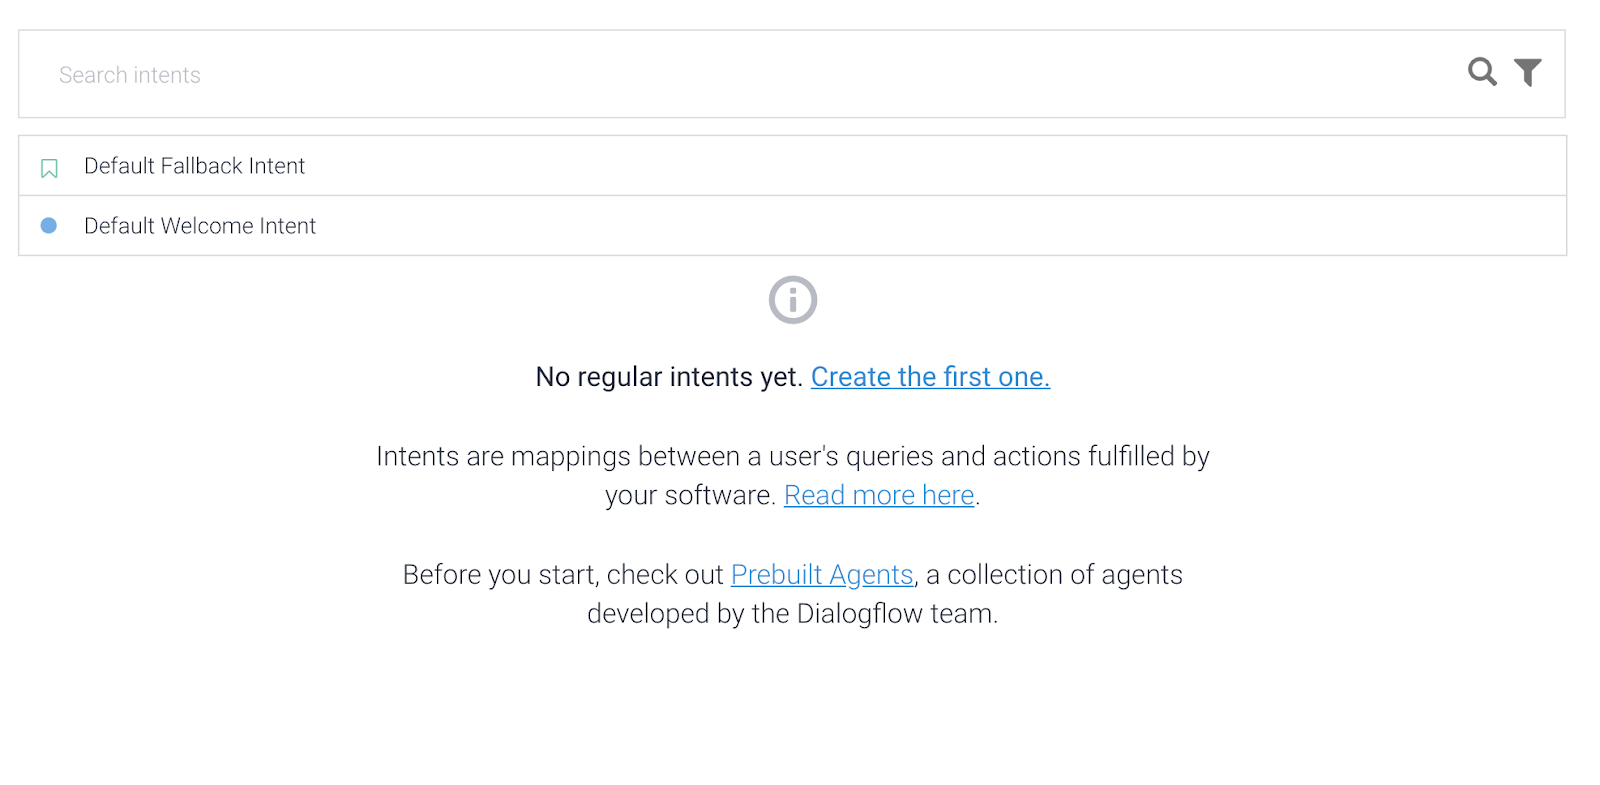
Each of these actions will correspond to an Intent in Dialogflow. In the UI, you’ll notice your agent already comes pre-set with two Intents: the “Default Fallback Intent” and the “Default Welcome Intent.”
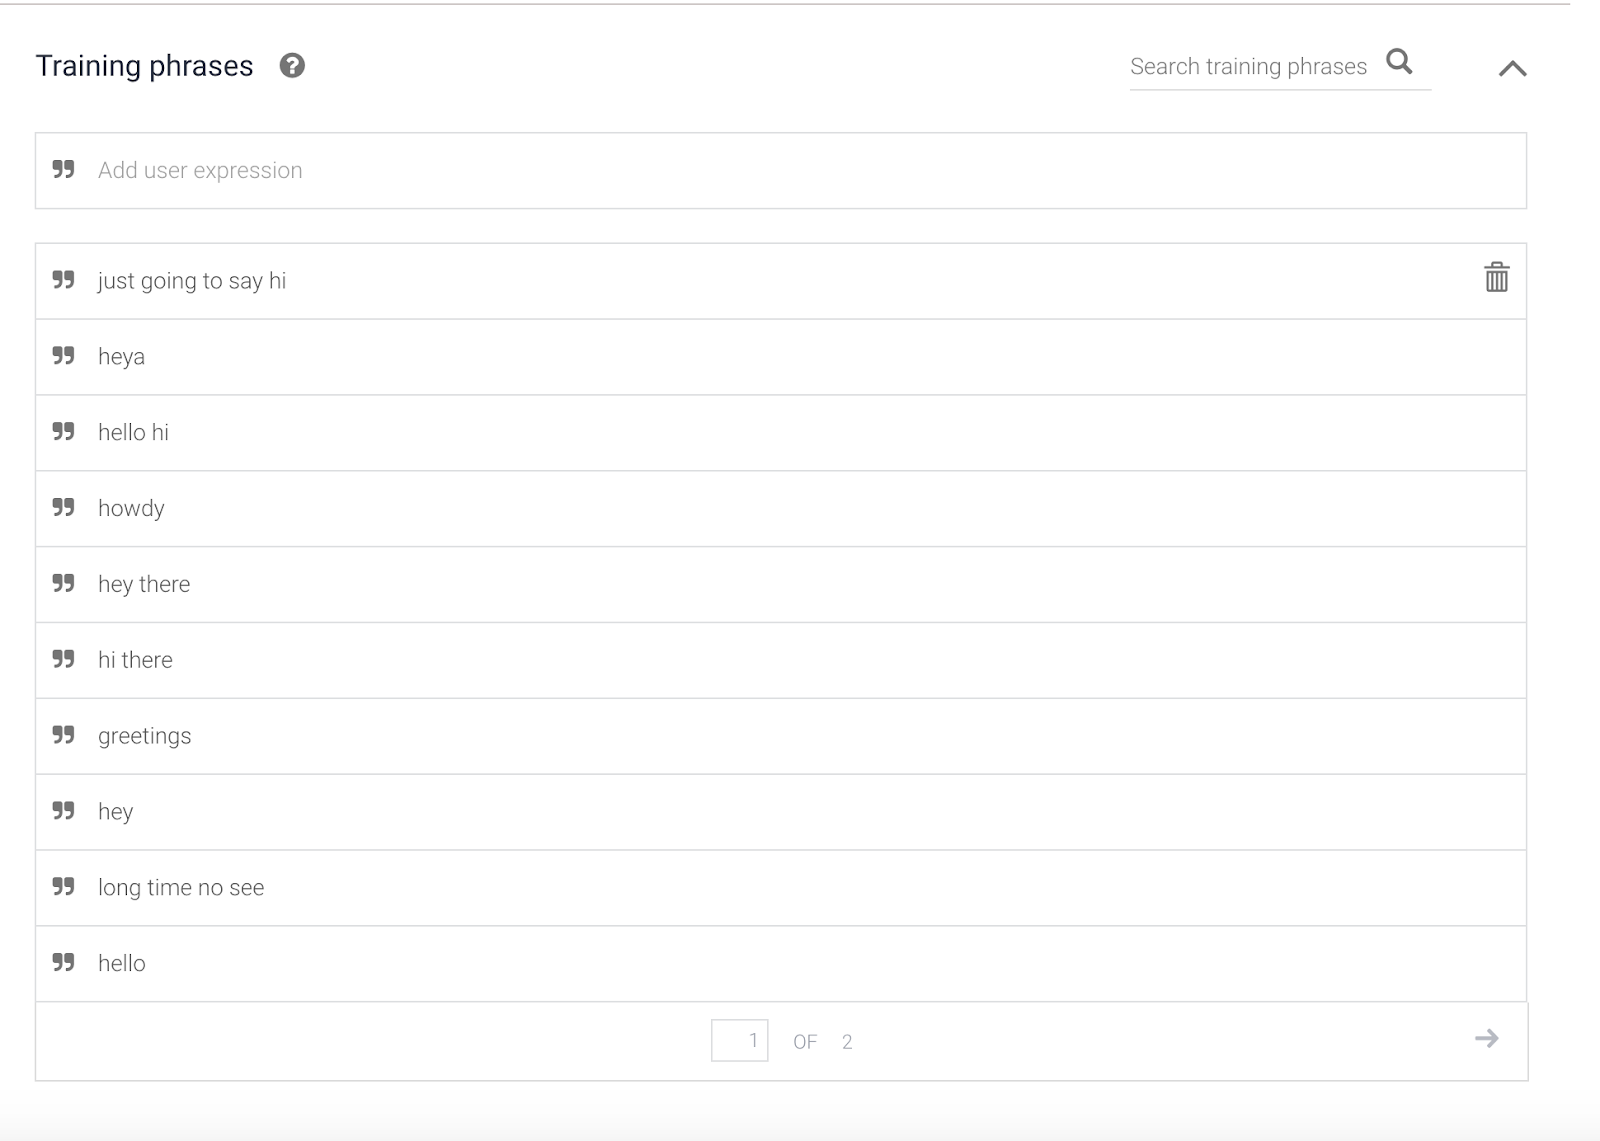
Let’s investigate the “Default Welcome Intent.” This Intent is responsible for responding to users who say, in one way or another, “Hello.” If you click on this Intent and scroll down, you’ll see a section labeled “Training Phrases”:
If you scroll down further in the Welcome Intent, you’ll also see a section called “Responses”:
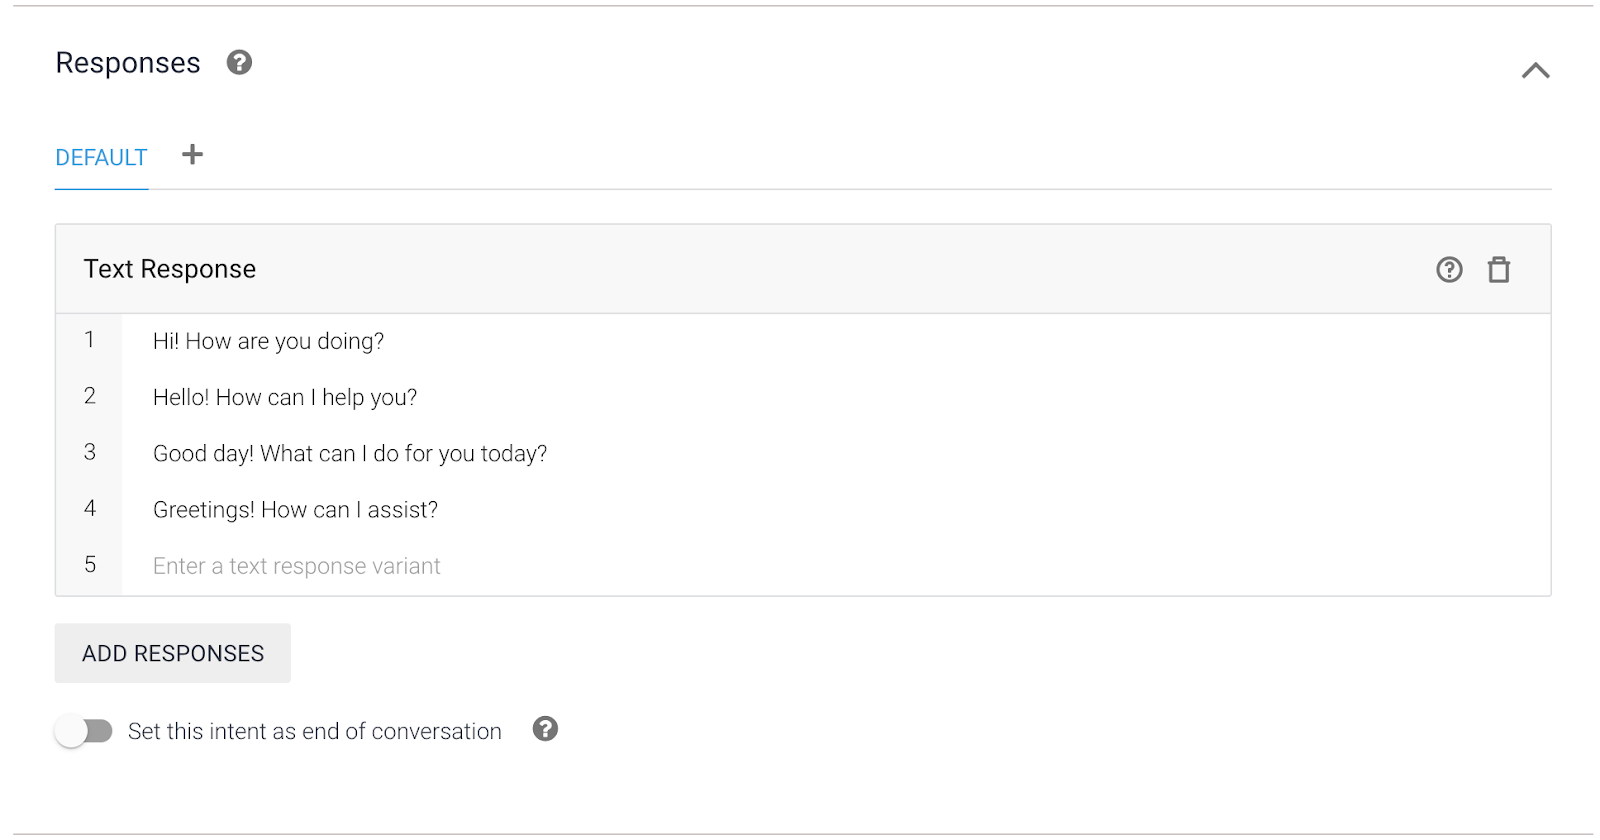
Here, you can give Dialogflow a variety of different ways to respond to a user when she says something equivalent to “Hello.”¹
Creating a Set Alarm Intent
Dialogflow agents are initialized with two built-in Intents: the Welcome Intent and the Fallback Intent. The Fallback Intent is a catchall that responds to anything it doesn’t recognize with something like, “I didn’t get that. Can you say it again?”).
Now let’s create our own custom setAlarm Intent, which should respond to all user requests to set an alarm.
Create a new Intent by clicking “Create Intent” on the upper right side of the UI:
Click “Create Intent” on the upper corner of the UI.
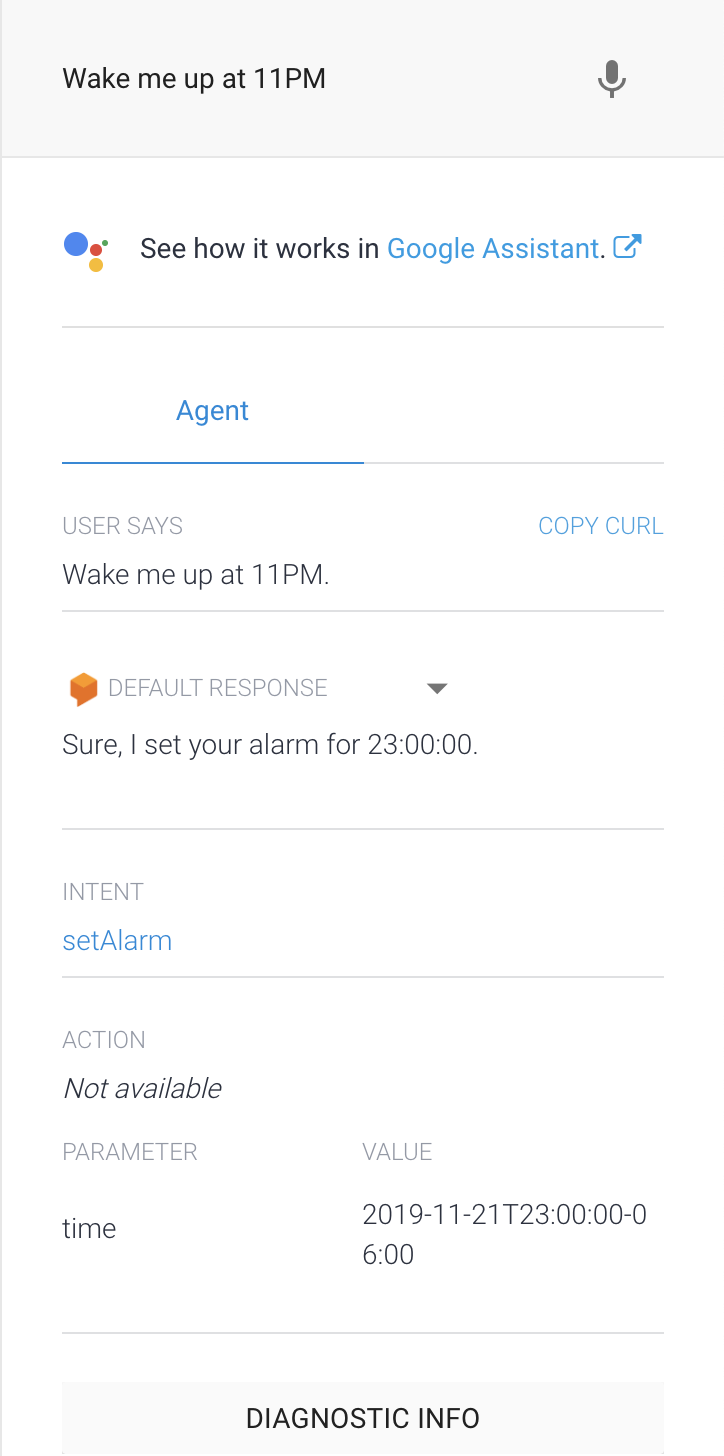
Next, name your Intent something like “setAlarm.” Scroll down and click “Add training phrases.” In the box that says “Add user expression,” type in the phrase “Set an alarm for 9AM” and press enter:
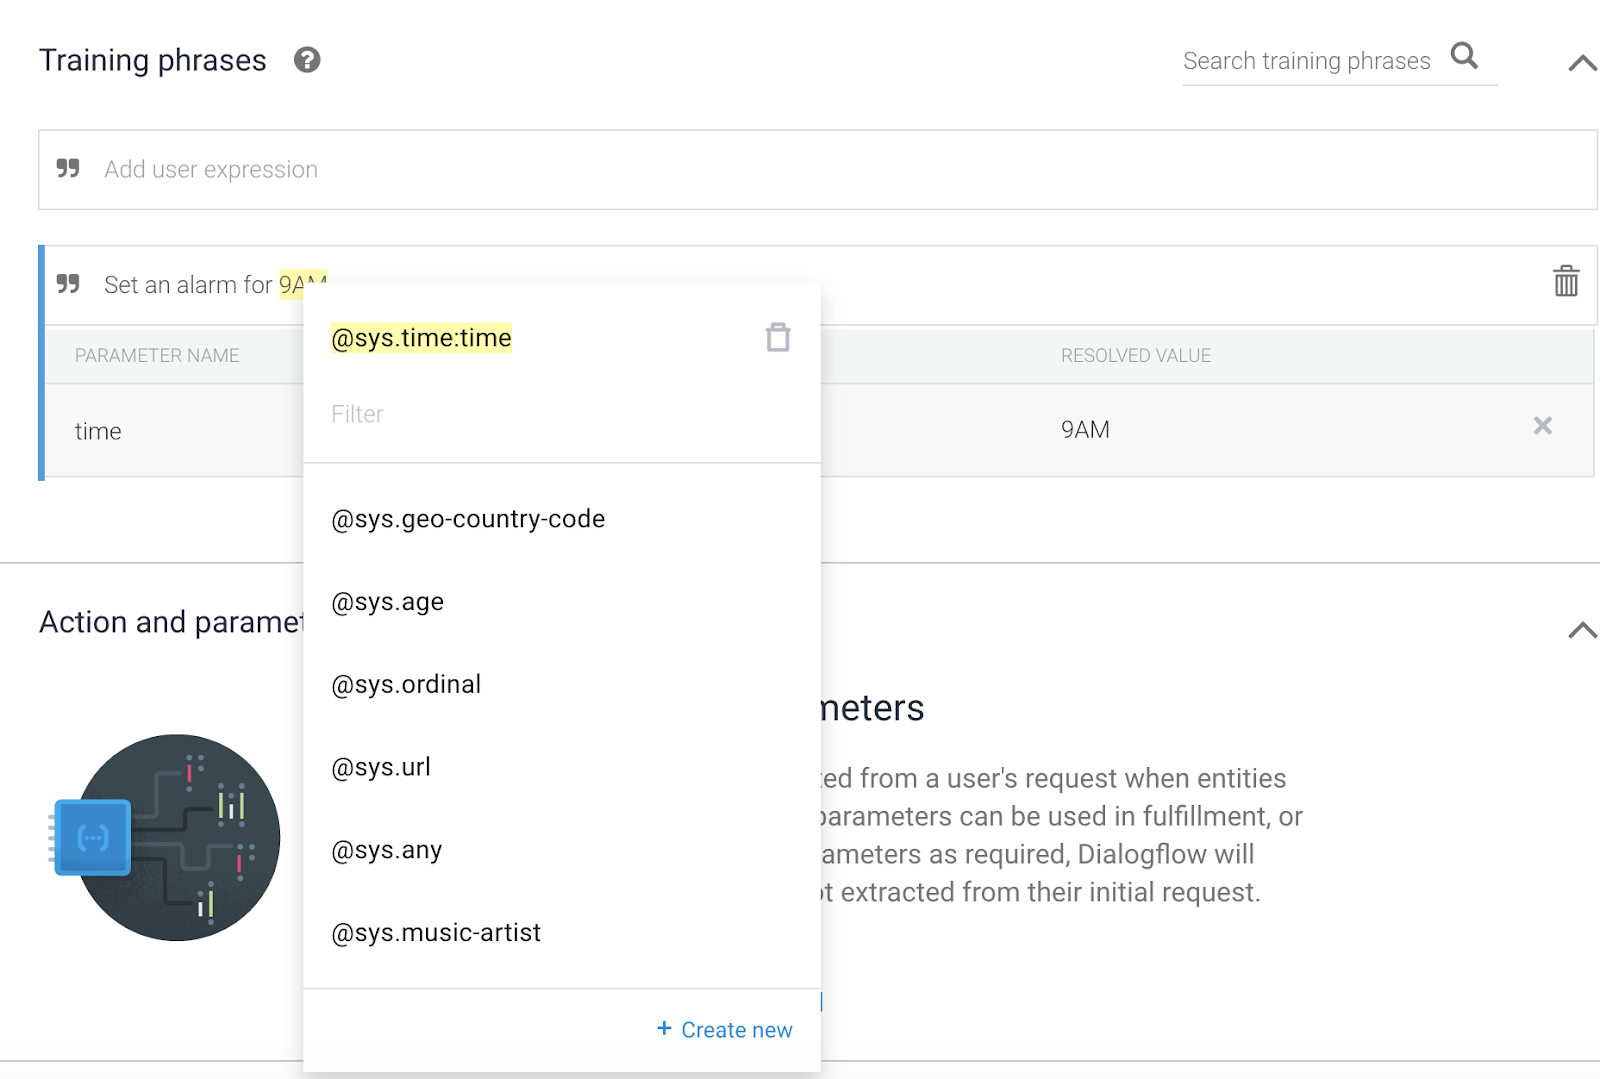
You’ll notice that when your new training phrase appears below, the “9AM” part is highlighted yellow. If you click on that highlighted yellow part, you should see a pop-up that probably says @sys.time:time.
What’s just happened is that Dialogflow recognized an entity, in this case, a time entity. Entity tagging does two important things. First, it allows Dialogflow to recognize that a user asking “Set an alarm for 9AM” and a user asking “Set an alarm for 10AM” are essentially the same request, although the entity’s actual value (9AM vs 10AM) varies.
Second, it extracts parameters — i.e. 9 AM — and stores it in variables we can later make use of in code. If you scroll down, you should see, under the Action and parameters heading, a new parameter named table. We’ll be able to use this variable later when we’re actually setting an alarm.
Next we’ll need to define some training phrases that teach Dialogflow what type of user queries should be matched to the addAlarm intent.
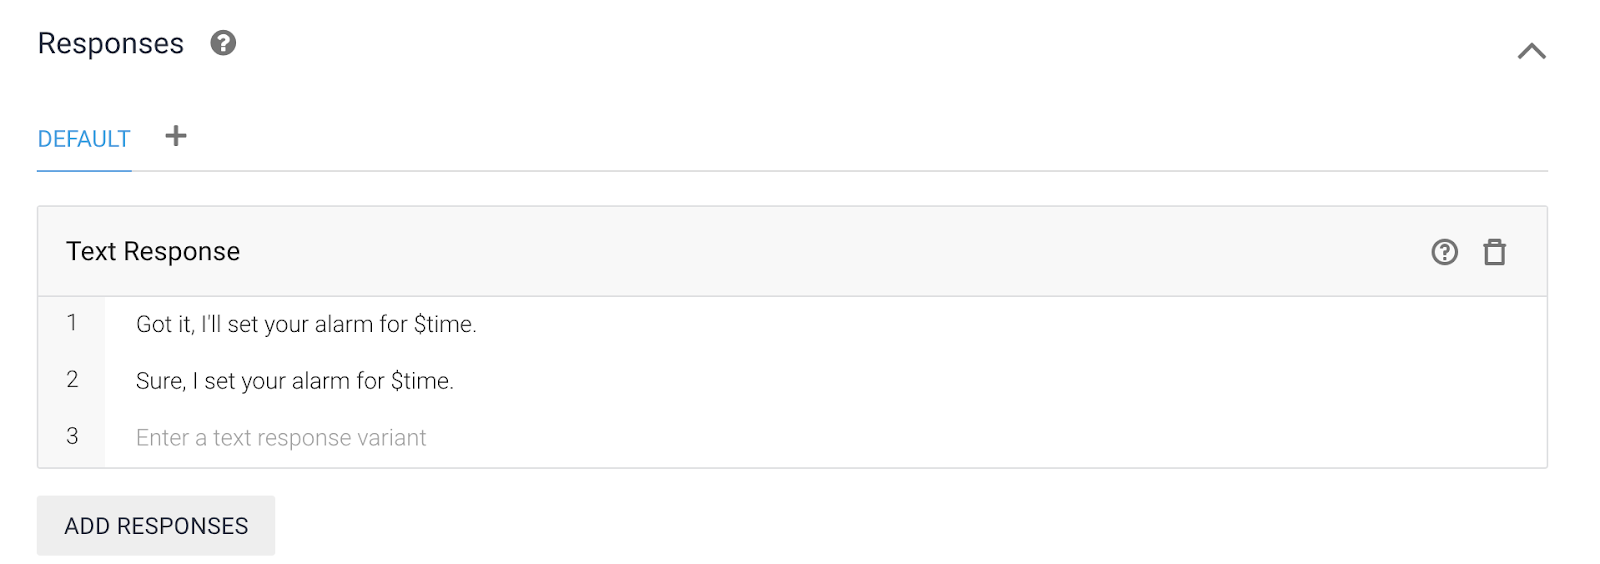
Now let’s add some responses. Scroll down to the Responses area and click “Add Response.” Here, you can add different variations of responses:
Training Your Agent
Click save, and Dialogflow will start training your Agent using the training data you provided. This could take a minute. When training is finished, try out your new intent in the test console:
Adding a Required Parameter Prompt
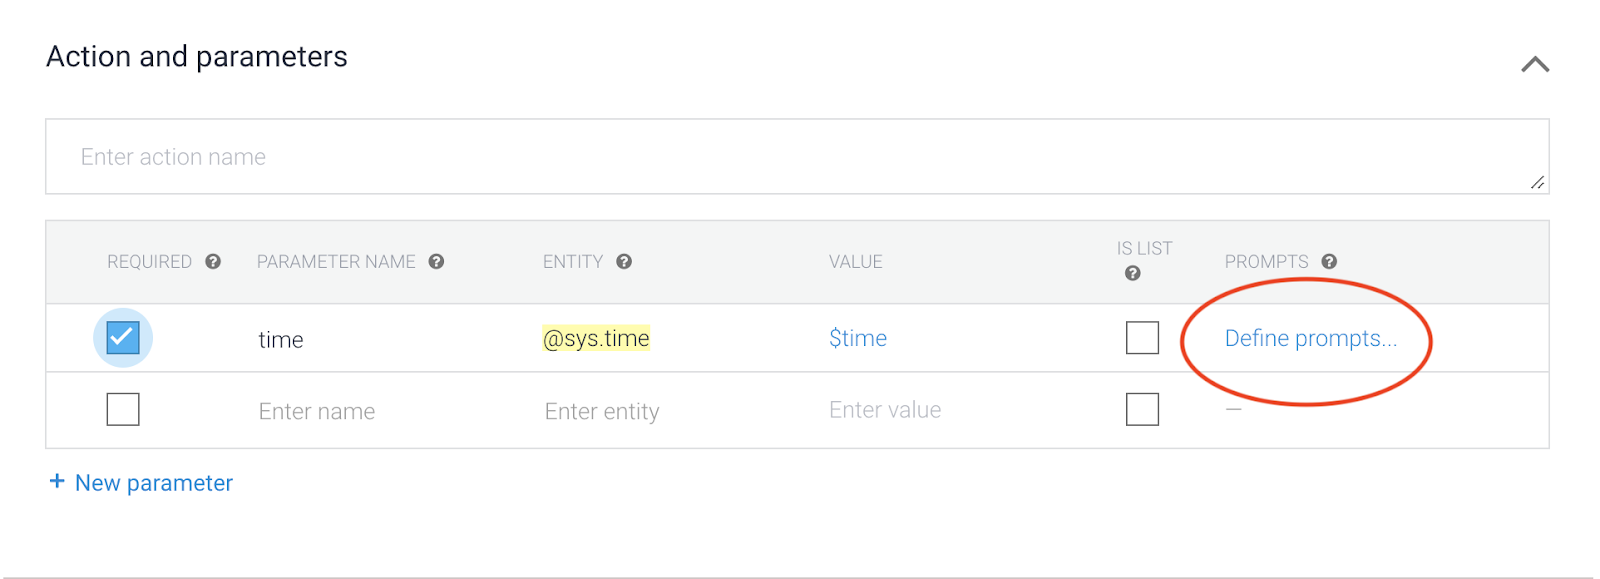
So far, our Intent works great if the user asks our bot to set an alarm and provides a time. But what the user just says, “Set an alarm”? At that point, we want our Agent to respond with something like, “Okay, I’ll set your alarm — but for what time?” Luckily, Dialogflow has a built-in mechanism to handle this case, called “Required Parameters.”
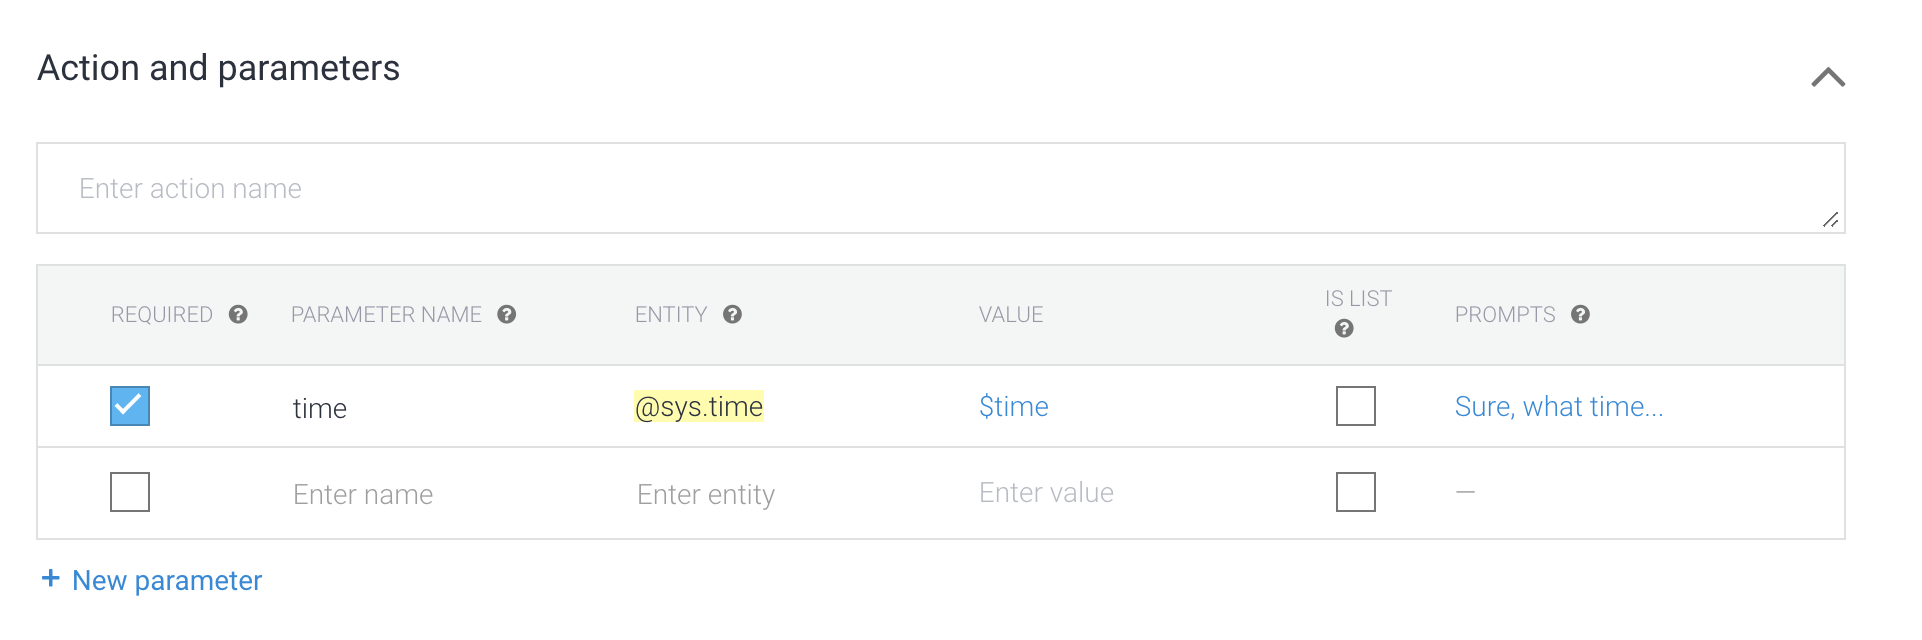
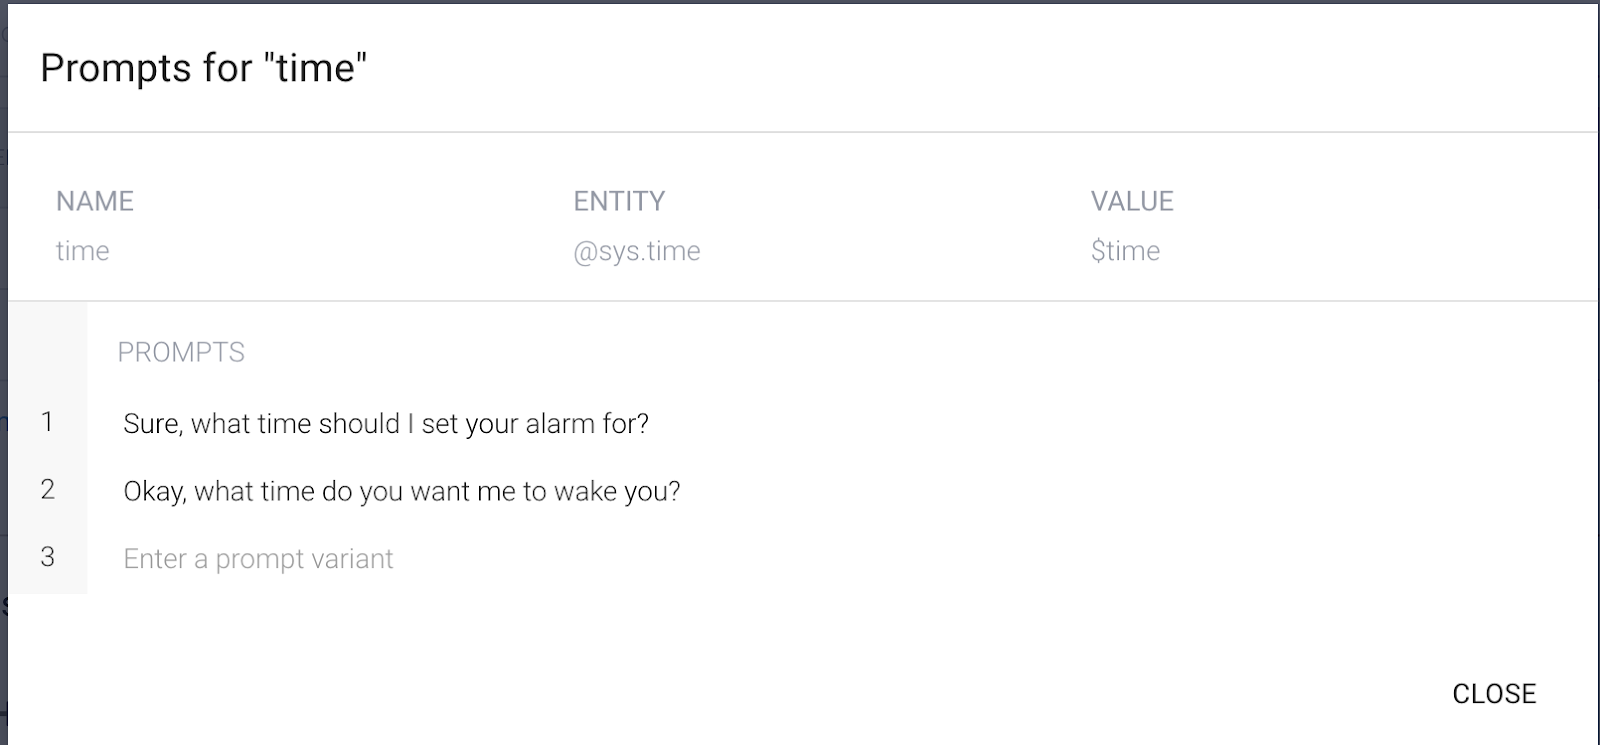
Navigate to the “Actions and Parameters” section of your Intent. Here, you should see time listed as one of your parameters. Next to time tick the box under “Required.” This indicates to Dialogflow that if the user hasn’t provided a time, it should ask the user for one. You can then “prompt” the user to provide a time. Click on “Define prompts…” next to the “time” parameter:
Here, you can tell Dialogflow how to ask users to specify a time:
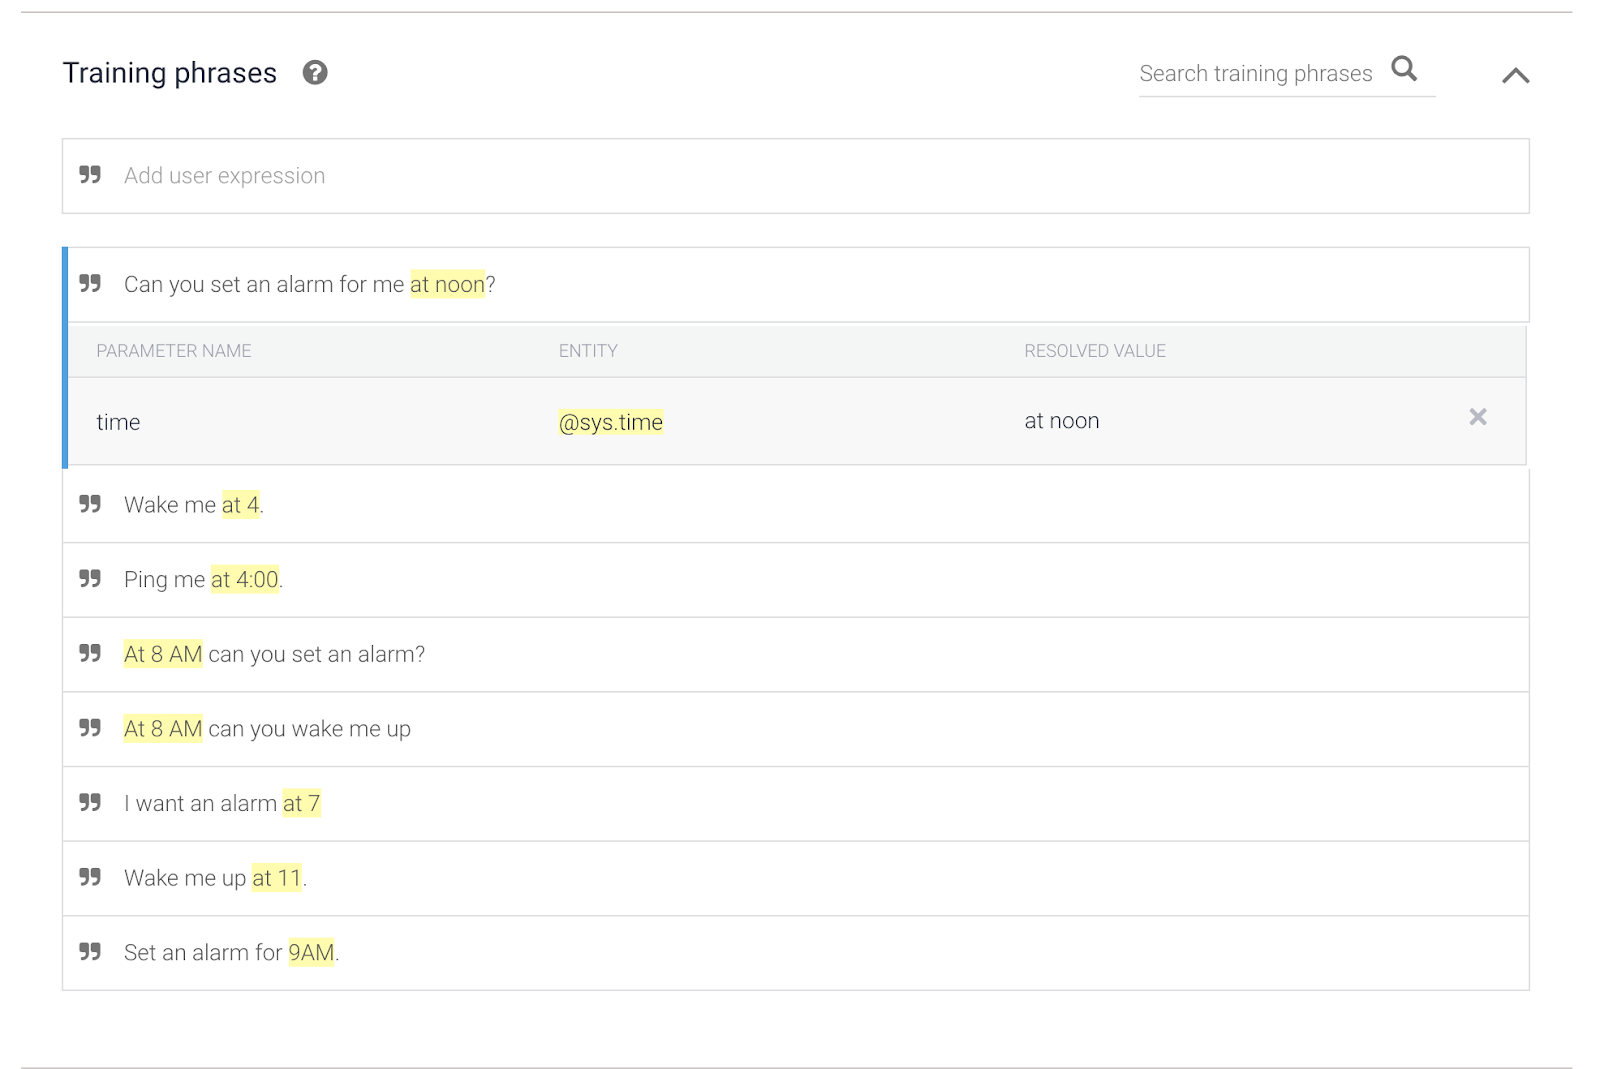
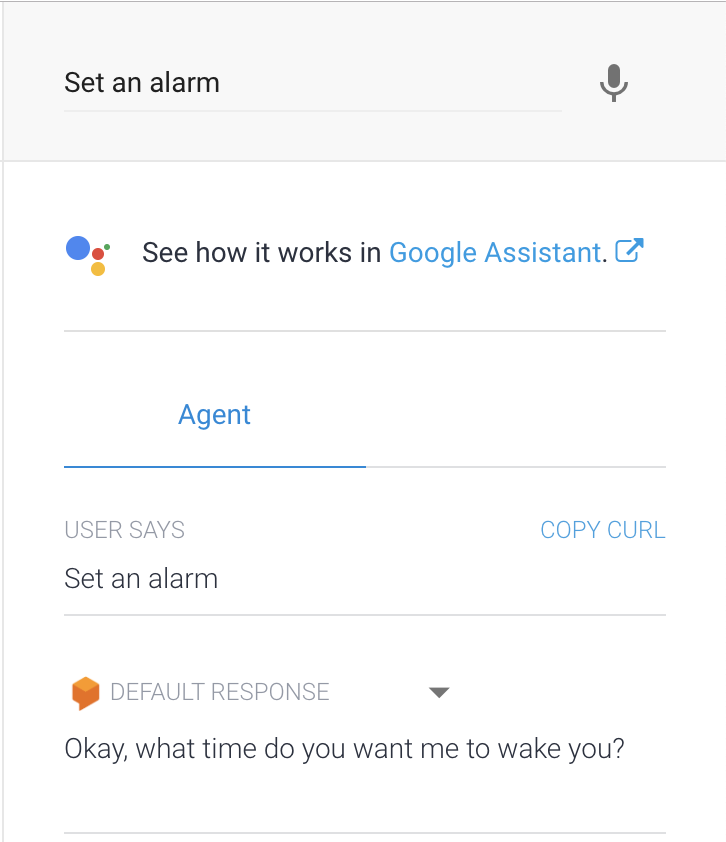
Thanks to this nice feature, we can go back to the “Training Phrases” section and add some more phrases that don’t specify times, like:
“Set an alarm.”
“Wake me up.”
“Can you set an alarm for me?”
This way, Dialogflow will match all of these requests to the addAlarm intent, and automatically ask for an alarm time if one isn’t given.
Click “Save,” wait for your agent to train, and test it out in the console:
Now let’s create two more intents, just like we did the setAlarm intent, but for listing an existing alarm (call it “listAlarm”) and for deleting an alarm (call it “deleteAlarm”).
I won’t list all the code here since it’s almost identical to the setAlarm intent above, but…
For your listAlarm intent, add training phrases like:
- “When’s my alarm?”
- “Do I have an alarm set?”
- “When is my reminder?”
and any others you think of. When this intent is matched, we’ll use code(!) to check what time the alarm is set for and dynamically respond to the user. But that’s for the next post. For now, just set the response for this intent to be something like “I don’t support this function yet!”
For deleteAlarm, add training phrases like:
- “Delete my alarm.”
- “Remove the alarm.”
- “Cancel the reminder.”
Set the responses to something like, “Okay, I cancelled your alarm.”
Congratulations, the Dialogflow part of your alarm clock — its conversational user interface — is done! If this didn’t work for you (or if you want to save yourself some time), you can also import my zipped agent directly into Dialogflow.
You can think of this as being similar to the frontend side of an app. Of course, the backend bit, the code that actually keeps track of our alarms and sets them, isn’t built yet. But not to worry, we’ll get to that in the next post. In the meantime, enjoy blissful, uninterrupted sleep — while you can. ⏰
Missing critical info from this post? Leave a comment below and I’ll try to fill it in.
- You can also dynamically generate a Dialogflow response in code using Fulfillments. But more on that in a later post!
Comments